| View previous topic :: View next topic |
| Author |
Message |
Noahs944
Joined: 08 Dec 2015
Posts: 782
Location: Calgary, Alberta, Canada
|
 Posted: Sun Jul 01, 2018 2:47 am Post subject: Posted: Sun Jul 01, 2018 2:47 am Post subject: |
 |
|

Okay, today I installed this sump level switch. Could find anything to replace the float that I broke, so maybe a ziptie will keep the light off.
Used a tube bender to severely modify my dipstick tube.
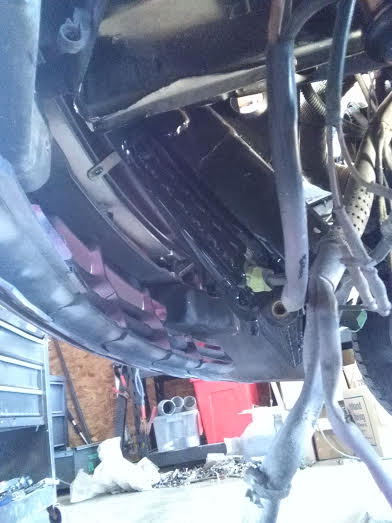
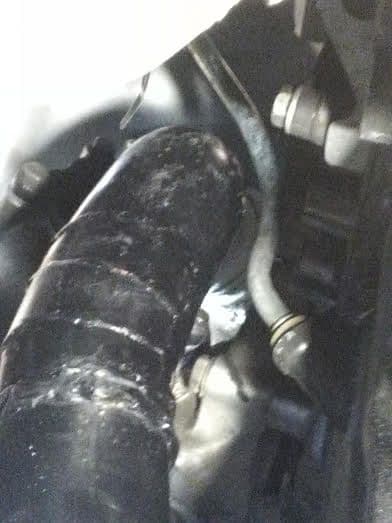
Heres my turbo drain to sump bung. Sump bung is very high on the oil pan, I hope this helps eliminate some of the oil troubles associated with the 951.
 |
|
| Back to top |
|
 |
Noahs944
Joined: 08 Dec 2015
Posts: 782
Location: Calgary, Alberta, Canada
|
| Posted: Sun Jul 01, 2018 6:54 am Post subject: |
|
|
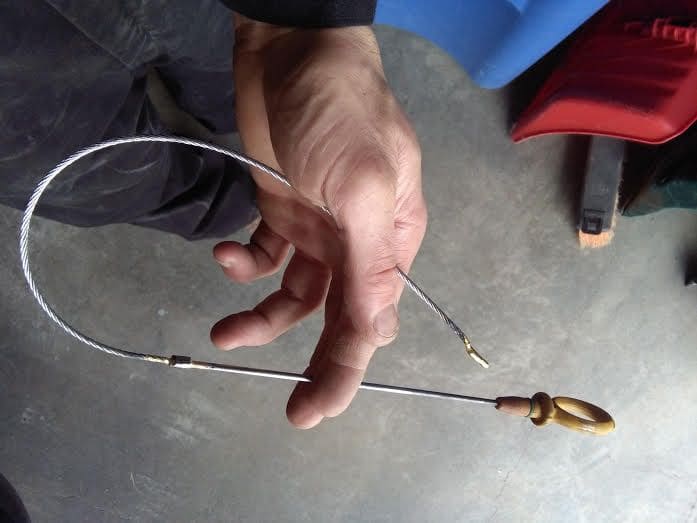
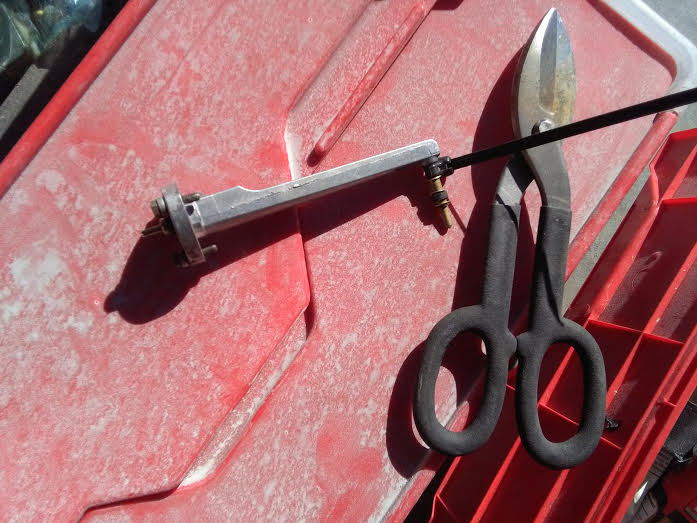
OEM dipstick wouldn't slid through the modded tube, so brazed an aircraft cable to 6" of oem stick. WORKS AWESOME.
Below. Serious Question:
Does filling the central tube at oil filter head drip down to the oil pump? I hope so! I want to prime the oil pump. I filled the tube until it overflowed. It took maybe 1/4 litre of oil.
 |
|
| Back to top |
|
|
Noahs944
Joined: 08 Dec 2015
Posts: 782
Location: Calgary, Alberta, Canada
|
|
| Back to top |
|
|
Fasteddie313

Joined: 29 Sep 2013
Posts: 2596
Location: MI
|
|
| Back to top |
|
|
Noahs944
Joined: 08 Dec 2015
Posts: 782
Location: Calgary, Alberta, Canada
|
| Posted: Mon Jul 02, 2018 6:47 am Post subject: |
|
|
| Interesting. The Snow Performance instructions say to inject pre-Throttle Body within around 6"... and not pre intercooler because it'll pool up inside the intercooler. |
|
| Back to top |
|
|
Noahs944
Joined: 08 Dec 2015
Posts: 782
Location: Calgary, Alberta, Canada
|
| Posted: Mon Jul 02, 2018 10:40 am Post subject: |
|
|

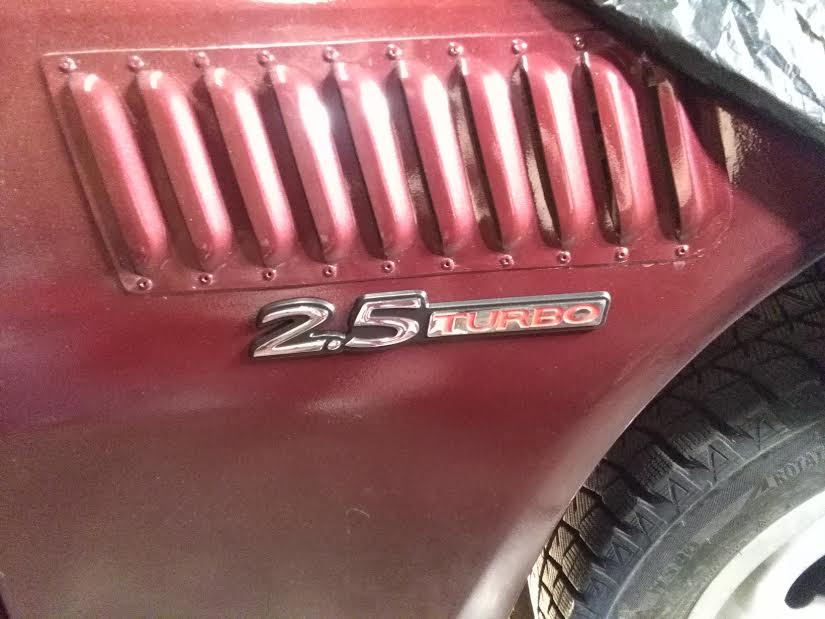
WOOHOO! Baby step, I know. but god dammit I'm now at the stage where I put power & ground to the ecm. Next step is to read the magnets, orientate their polarity. drill out the old ones & install the new ones properly (its a pain in the ass, but the most critical element)
So to celebrate, Wilson the magnificent got awarded some Emblems today 
 |
|
| Back to top |
|
|
morghen

Joined: 21 Jan 2005
Posts: 8883
Location: Romania
|
| Posted: Mon Jul 02, 2018 6:11 pm Post subject: |
|
|
Looking forward to your first test drives.
_________________
https://www.the924.com |
|
| Back to top |
|
|
Noahs944
Joined: 08 Dec 2015
Posts: 782
Location: Calgary, Alberta, Canada
|
| Posted: Tue Jul 03, 2018 12:06 am Post subject: |
|
|
 I'll come pick you up & we'll take turns driving! I'll come pick you up & we'll take turns driving! |
|
| Back to top |
|
|
Noahs944
Joined: 08 Dec 2015
Posts: 782
Location: Calgary, Alberta, Canada
|
| Posted: Tue Jul 03, 2018 12:07 am Post subject: |
|
|
Another score last night. Front pulley mounted and I measured the minimum required distance between the magnets & the hall sensor (1mm).
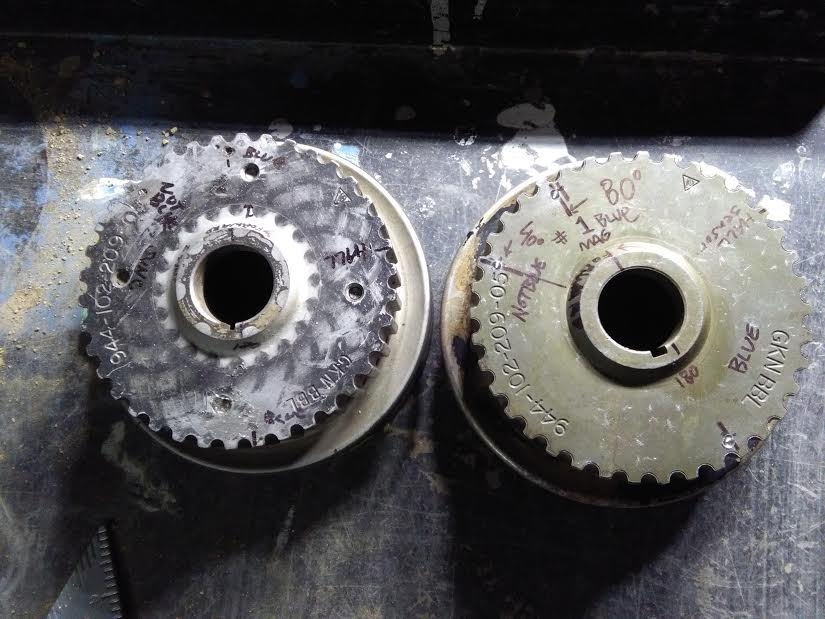
Special thanks to Bob from Cochrane, Alberta for his huge donation of 944 parts 2 years ago. Having another crank pulley in the parts bin came in handy. The first attempt to mount the magnets resulted in them being seated too low. Yesterday I tried to drill out a magnet...YEAH RIGHT, GOOD LUCK WITH DAT HOMEY 
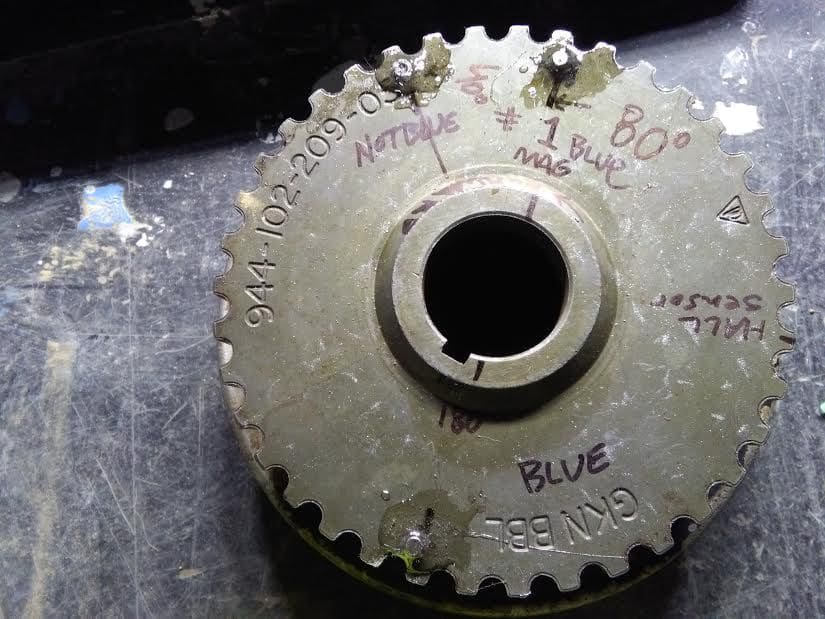
New magnets installed. 2 magnets with polarity in same direction get recognized by the hall sensor (I still need to verify on the ECM programmer screen that it reads "Magnet Seen" twice and "Sync Seen" once). But my next priority is to ensure engine cranking and oil pressure. The ecm fires spark plugs based on seeing the magnets.
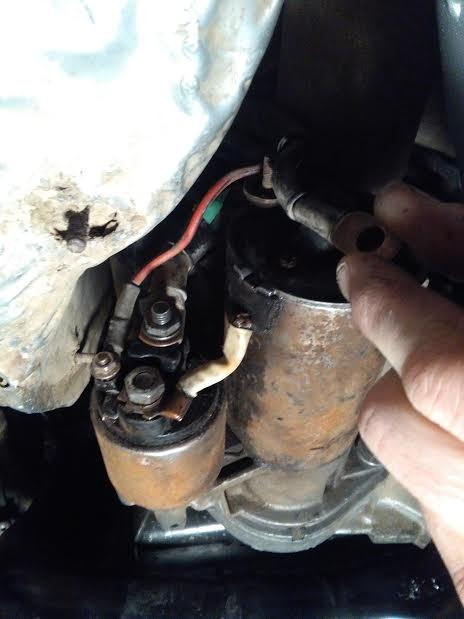
Please help. Haynes manual doesn't say. I forget... where does this negative cable go? Seriously I dunno. |
|
| Back to top |
|
|
Fasteddie313
Joined: 29 Sep 2013
Posts: 2596
Location: MI
|
| Posted: Tue Jul 03, 2018 3:46 am Post subject: |
|
|
Behind one of the starter bolts maybe?
I'm using my distributor for a VR sensor right now wich is dandy for fuel only but if/when I want to take over my ignition also I will need to add some sort of crank sensor, on the crank..
I like the idea of embedding magnets in my crank pulley or something like that rather than a trigger wheel...
_________________
80 Turbo - Slightly Modified |
|
| Back to top |
|
|
Noahs944
Joined: 08 Dec 2015
Posts: 782
Location: Calgary, Alberta, Canada
|
| Posted: Tue Jul 03, 2018 4:20 am Post subject: |
|
|
Hmmm, I think I prefer the trigger wheel. Trade ya?  |
|
| Back to top |
|
|
Noahs944
Joined: 08 Dec 2015
Posts: 782
Location: Calgary, Alberta, Canada
|
| Posted: Tue Jul 03, 2018 4:21 am Post subject: |
|
|
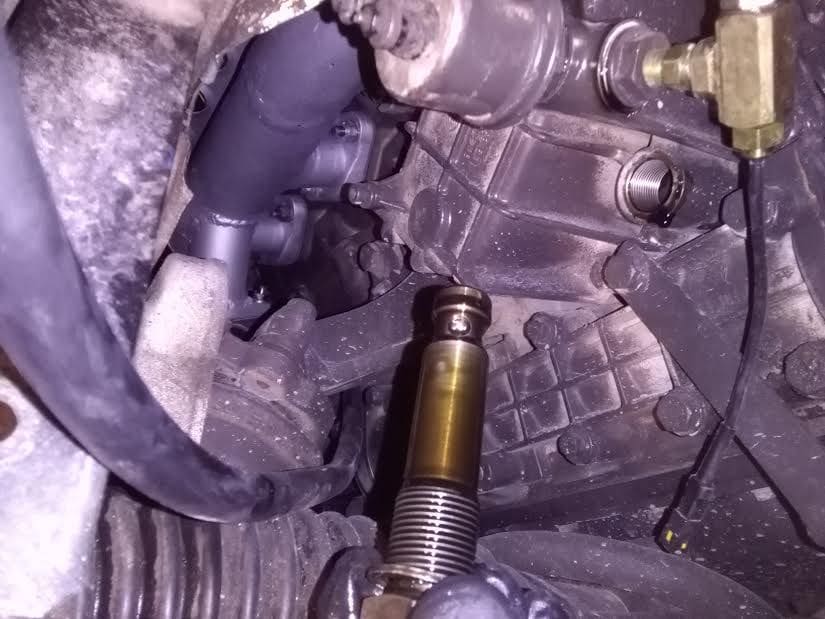
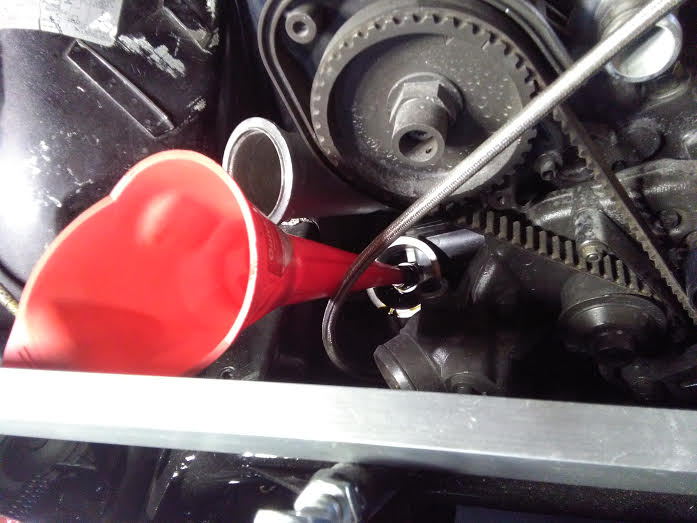
Darn it! So close yet so far, I was shooting oil in the wrong hole!
Correcting my mistakes, removed Oil Pressure Valve.
Looked in the hole & it's a 3" upward trajectory.
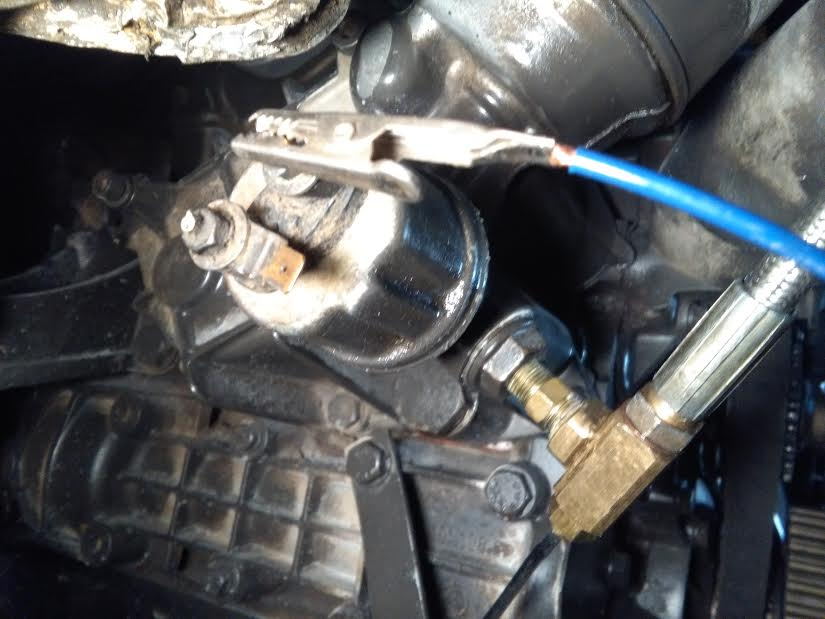
BOOM! Hitting them outta the ball park today Son!! Verified this post is for the oil pressure gauge. It's the blue & white wire that goes to the connector near the brake booster then to the gauge. As long as the block is grounded, it'll work with key on. Tested the pressure sender and gauge by removing sender & shooting 25 psi of air in the
hole of the sender.
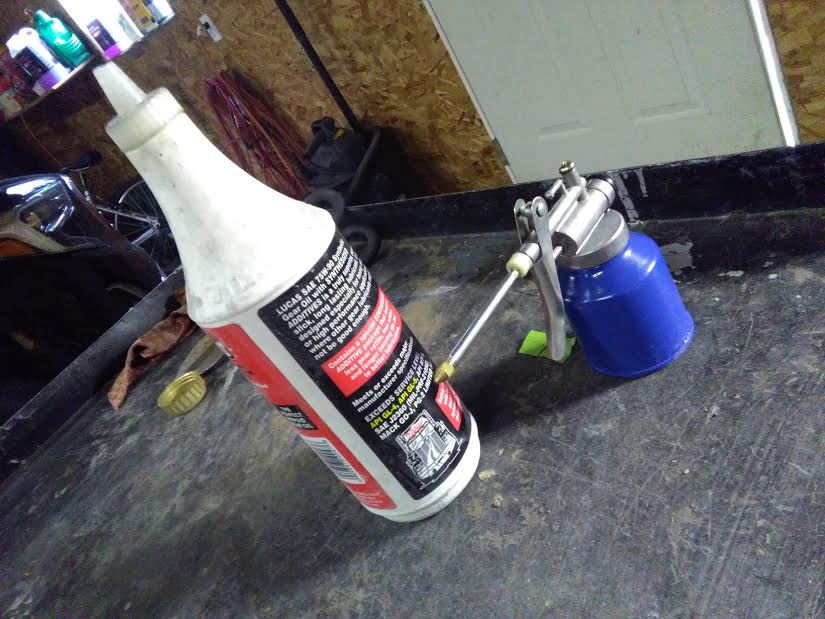
Below: Looking at my immediate resources, I could use one of these. The little squirt bottle worked really good. Used 4 tines of oil. Cranked. Within 10 secs I was up to 5bar OIL PRESSURE! That's just cranking. Yay! I'm so high I could kiss the sky
Above: by the way in the brass T Fitting, you might have noticed the sensor. It'll (down the road) tell me oil temperature. It came with my digital motorcycle dash.
 |
|
| Back to top |
|
|
Noahs944
Joined: 08 Dec 2015
Posts: 782
Location: Calgary, Alberta, Canada
|
| Posted: Tue Jul 03, 2018 10:02 am Post subject: |
|
|
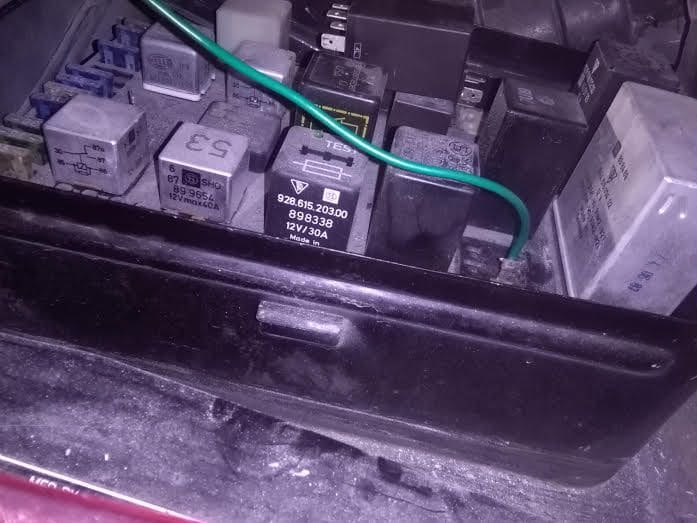
SDS EFI uses ground inputs to relays for fans, pumps, devices.
I have been trying to get the oem fuel pump to run by jumping battery power to the power (+) circuit. Once I hear the pump run, I can complete the SDS relay wiring (note: they designed the system to shut fuel pump off it the crankshaft isn't turning-seen my the hall sensor near the crank pulley.
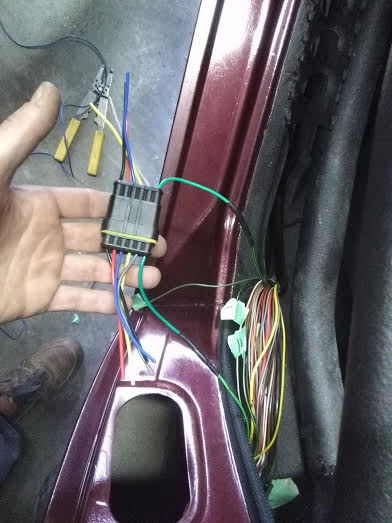
Short story long. The biggest green wire with black stripes near the driver's door is the power wire to the pump. I have always wished Porsche made a connector here. So I'm inserting one. The fuel pump gets ground from close to where the rear lic plate is. Silly me didn't have it hooked up after painting the interior. Now, with a proper ground I heard the fuel rail filled to capacity. This can be accomplished by feeding a 12v power source to either the fuel pump fuse or the DME relay circuit.
 |
|
| Back to top |
|
|
Noahs944
Joined: 08 Dec 2015
Posts: 782
Location: Calgary, Alberta, Canada
|
| Posted: Tue Jul 03, 2018 10:20 am Post subject: |
|
|

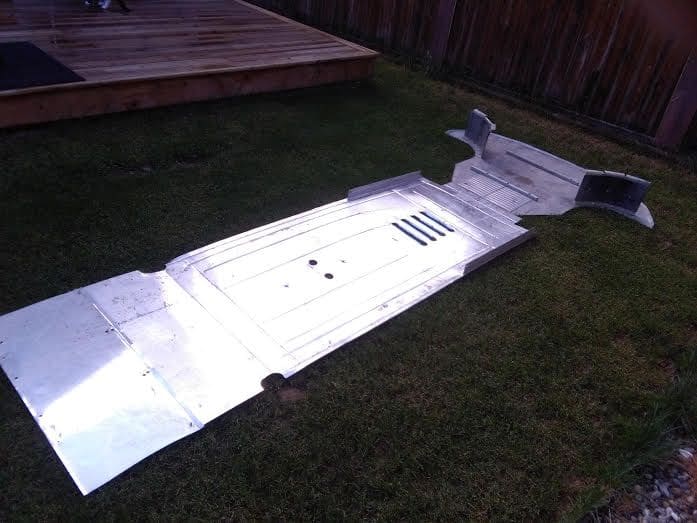
Oh and there is this... to deal with. A subject for a later day.
 |
|
| Back to top |
|
|
Noahs944
Joined: 08 Dec 2015
Posts: 782
Location: Calgary, Alberta, Canada
|
| Posted: Thu Jul 05, 2018 10:22 pm Post subject: |
|
|
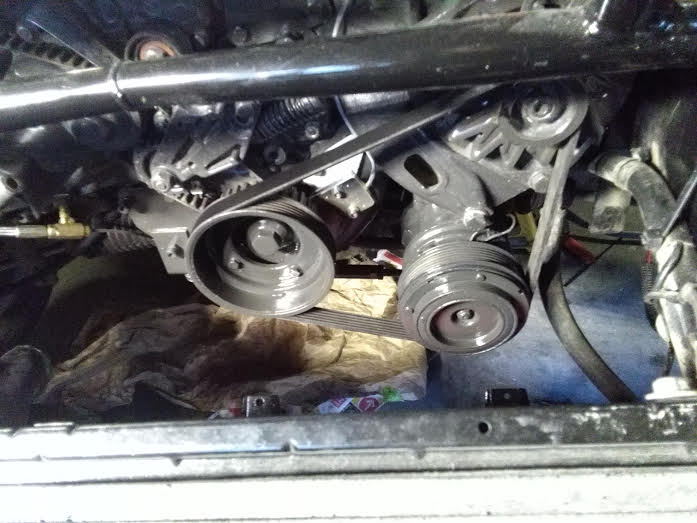
I tried to start my engine 2 days ago. It didn't start. I cannot smell gasoline from the exhaust, so I suspect the injectors aren't getting a ground from the ecm. Or maybe no positive... but I'm not going to persue this problem yet because I have to much chaos under the hood; like 55 wires with tape on them and then I have jumper wires with bare terminals... nothing properly secured. I need structure/organization in order to think straight and I also know exposed wires can lead to electric/electronic damage. So I'm going back to secure things and fabricate things & then install them properly. Then I double check my wiring & begin diagnosis.
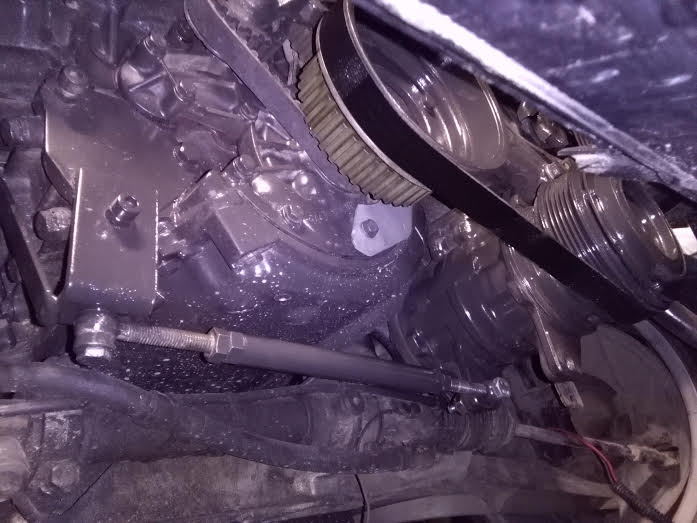
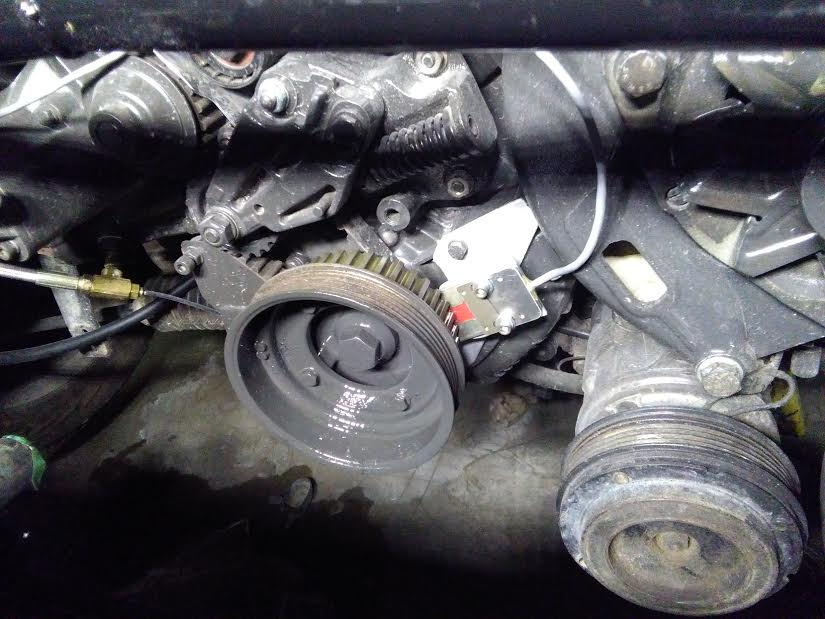
Painted the AC compressor. This is what my power steering delete looks like.
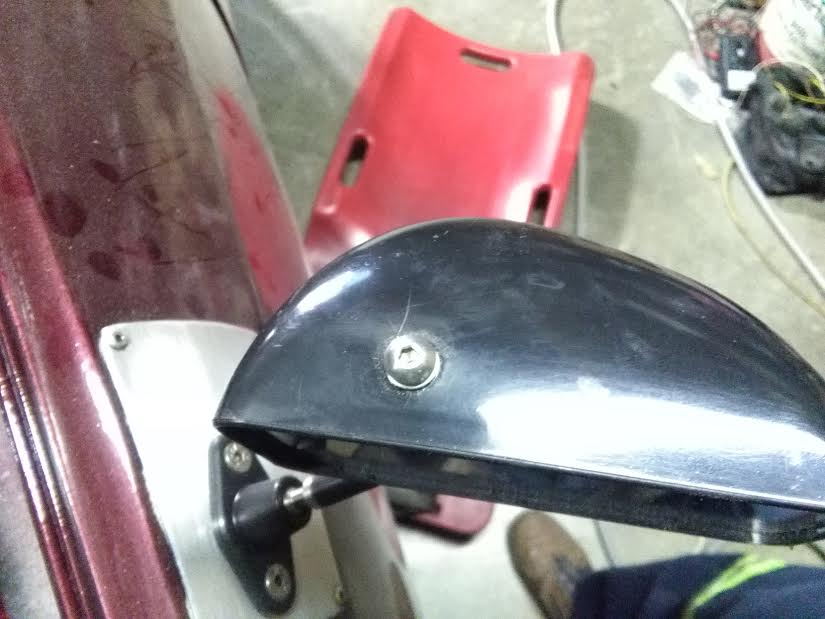
Happened to notice my brand new SPA Designmirrors have spider cracks in the plastic housing near the screws. I just sent them an email.
 |
|
| Back to top |
|
|
|

