| View previous topic :: View next topic |
| Author |
Message |
Johann

Joined: 07 Aug 2016
Posts: 240
Location: Netherlands
|
 Posted: Mon Jan 09, 2017 6:41 am Post subject: Posted: Mon Jan 09, 2017 6:41 am Post subject: |
 |
|
This weekend I spent some time tinkering on the 931. I have been assembling parts for my suspension overhaul over te past months and since my car is now in winter storage I figure it is the perfect time to do some suspension work.
While I was waking this 931 from its 20 year sleep earlier this year, I was quite happy when a found a fresh looking set of Monroe gas filled shocks under all the dirt. I know they are not the best, but I was hemorrhaging money and this was a windfall. But after I put some mileage on the car during the autumn it became very clear to me that the suspension was very worn and past its best. The car was unpredictable through corners and quite bouncy.
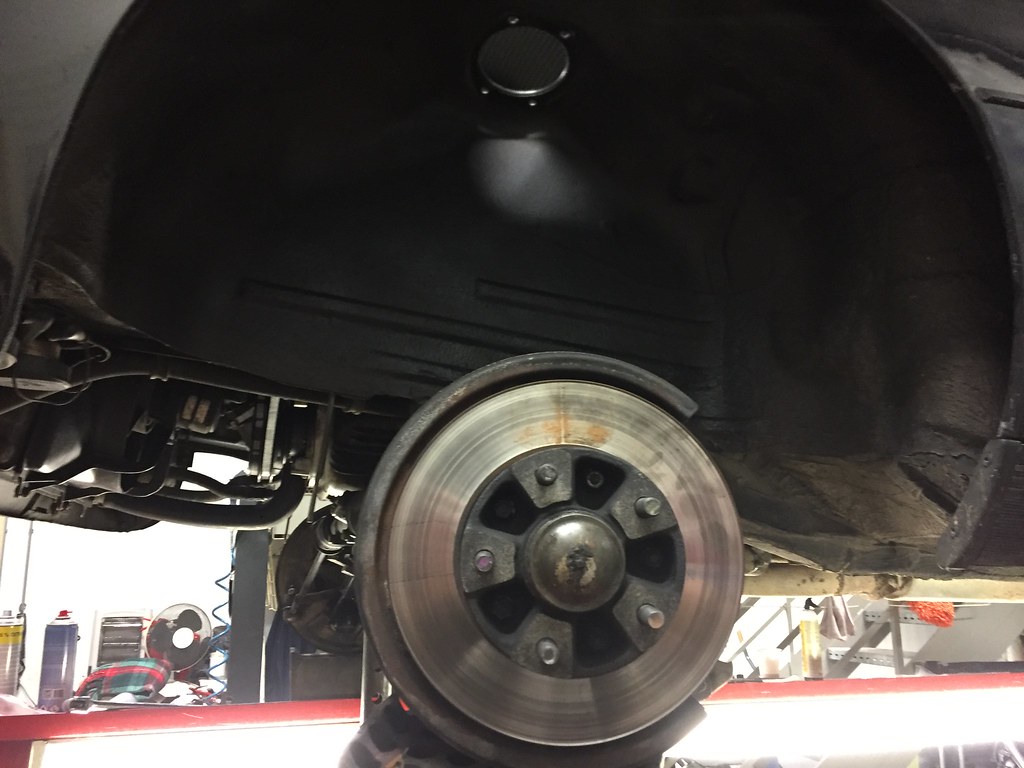
I started with the rear shock first since this is a quick win and I always need to ease myself into big jobs 
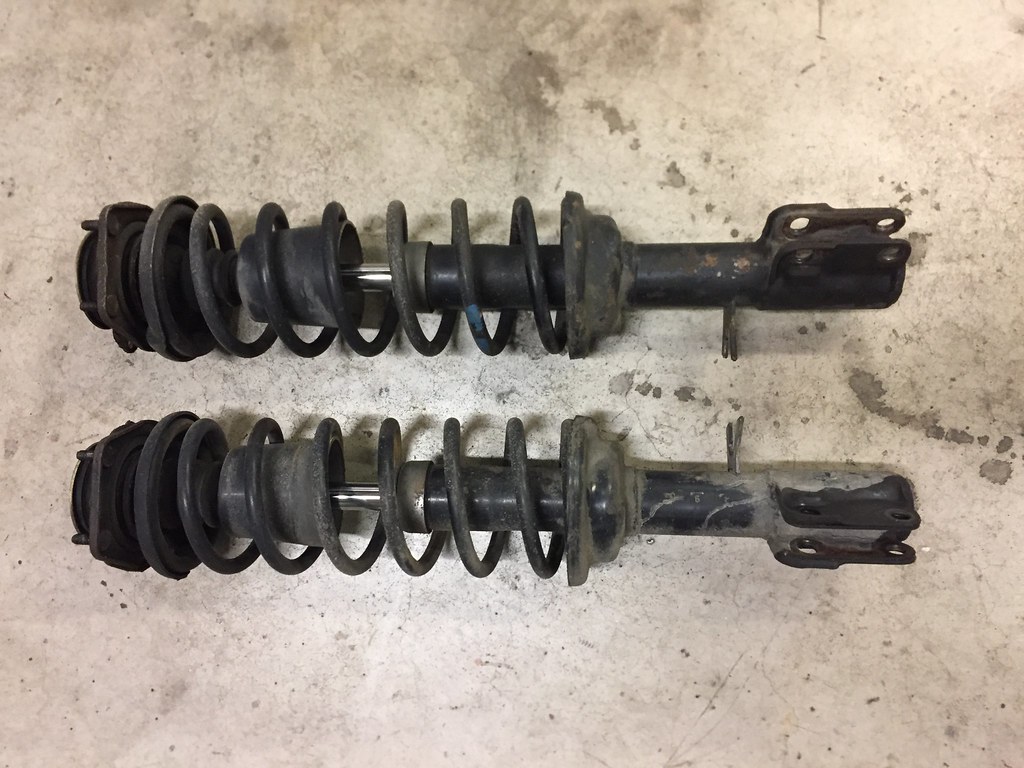
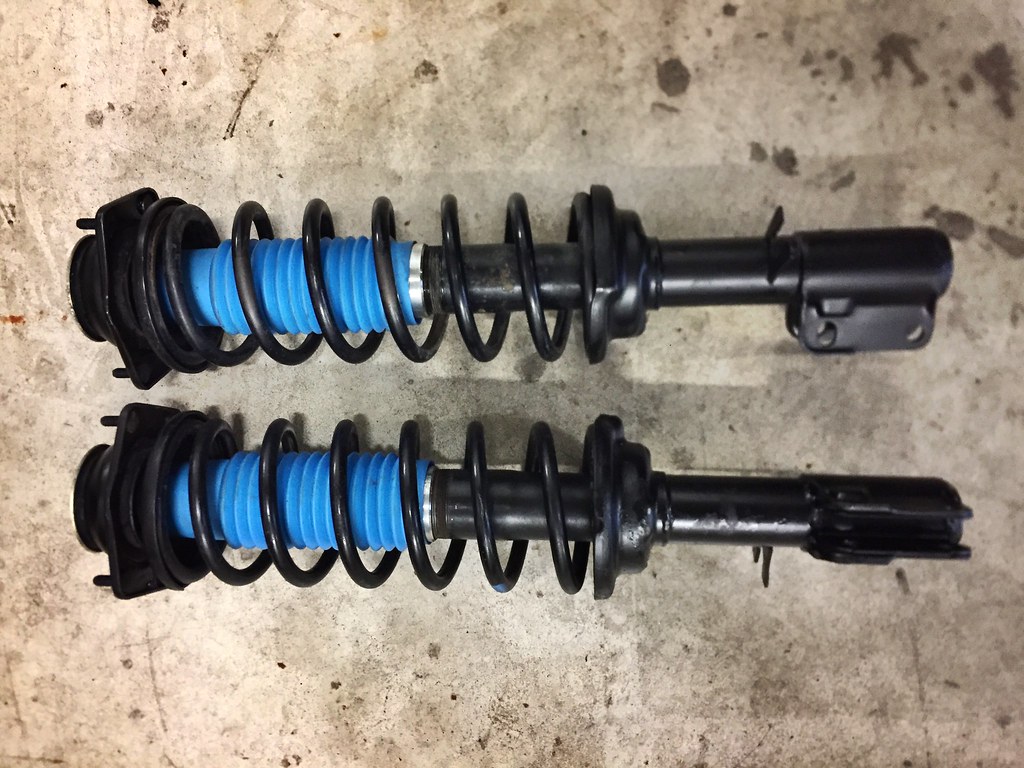
New vs. Old
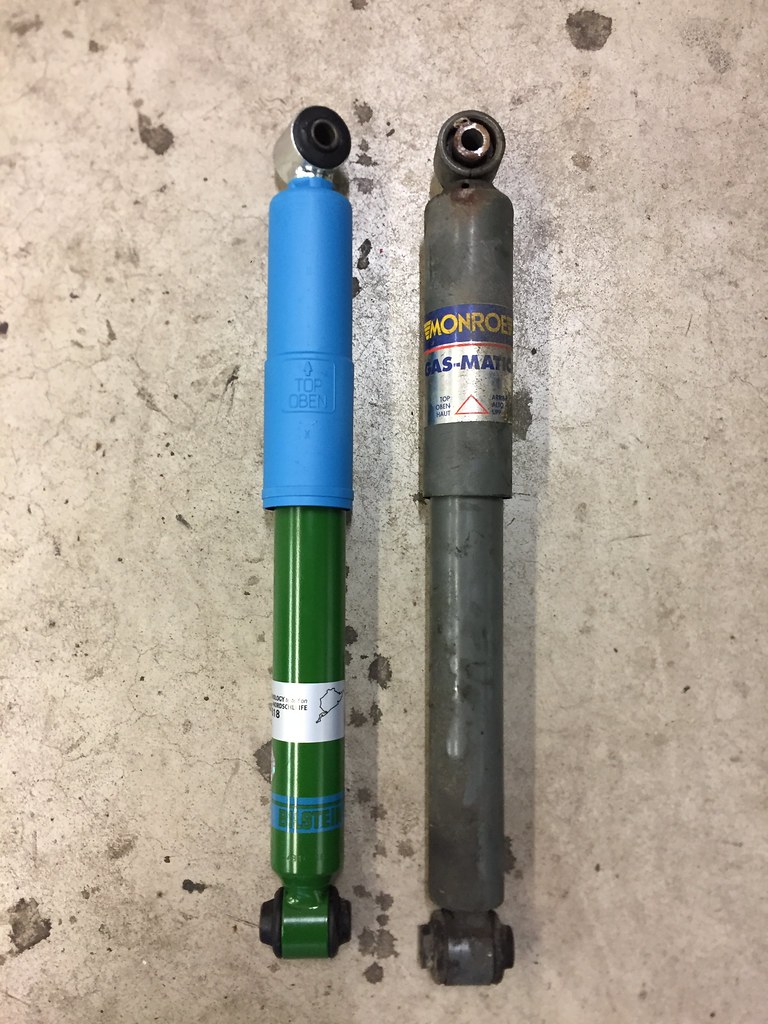
The Monroe's were so bad, I could compress them with relative ease between my two arms :shock: Added to this you can see that the top bushing has somehow disappeared for 50%.
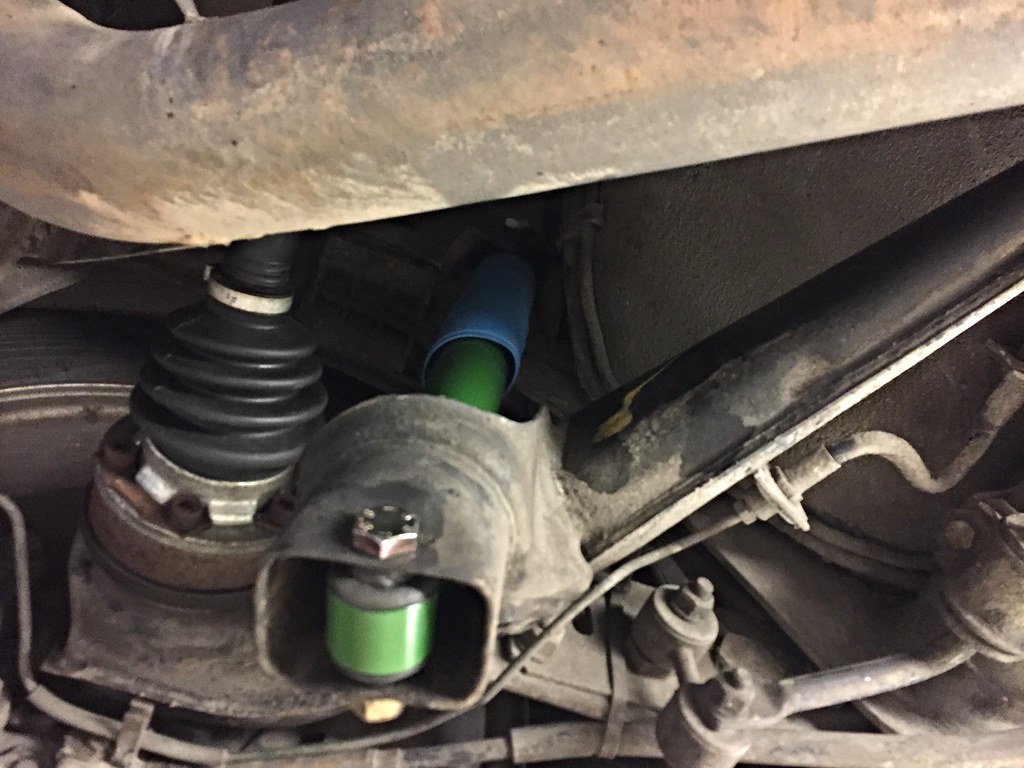
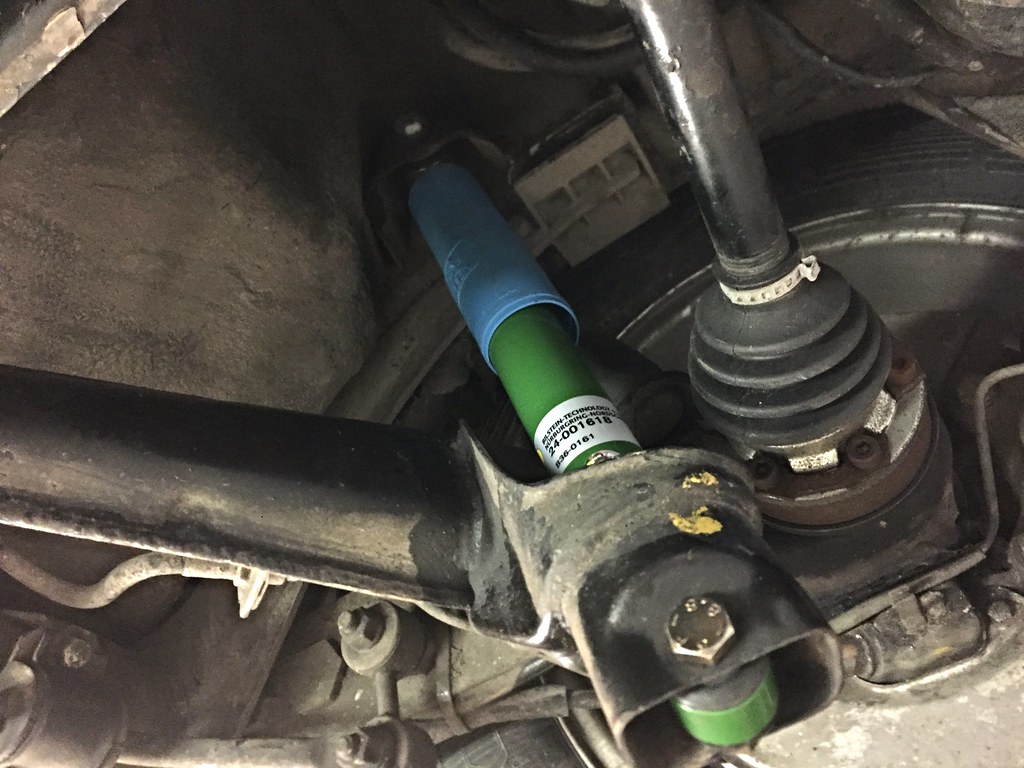
Installed 
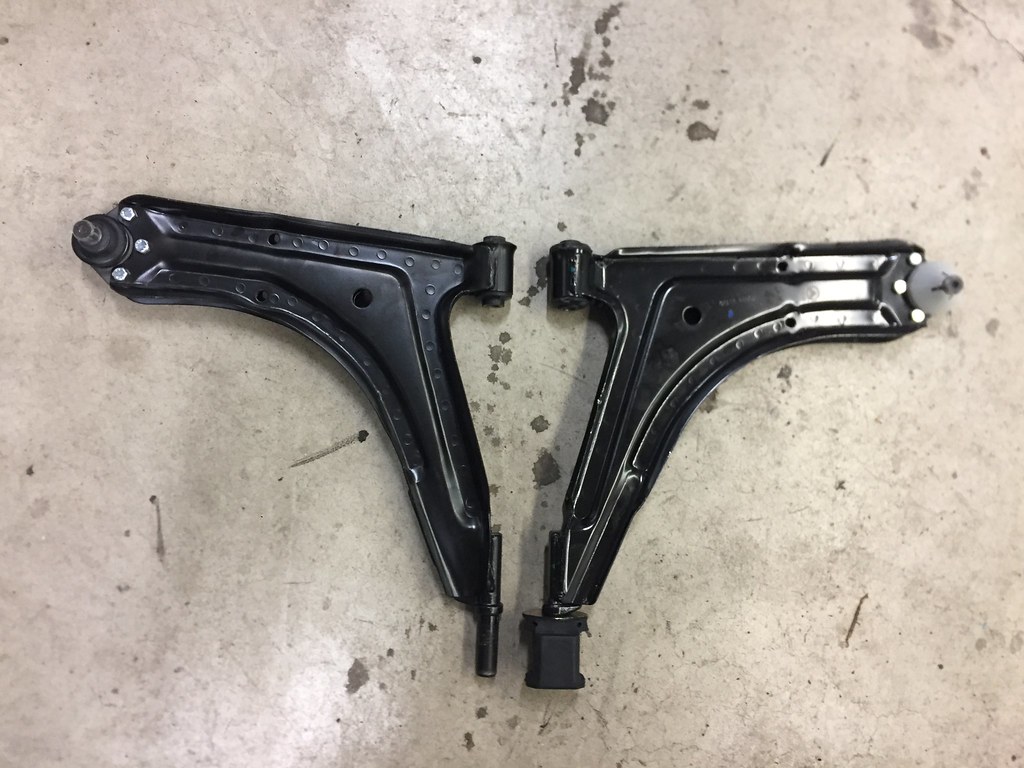
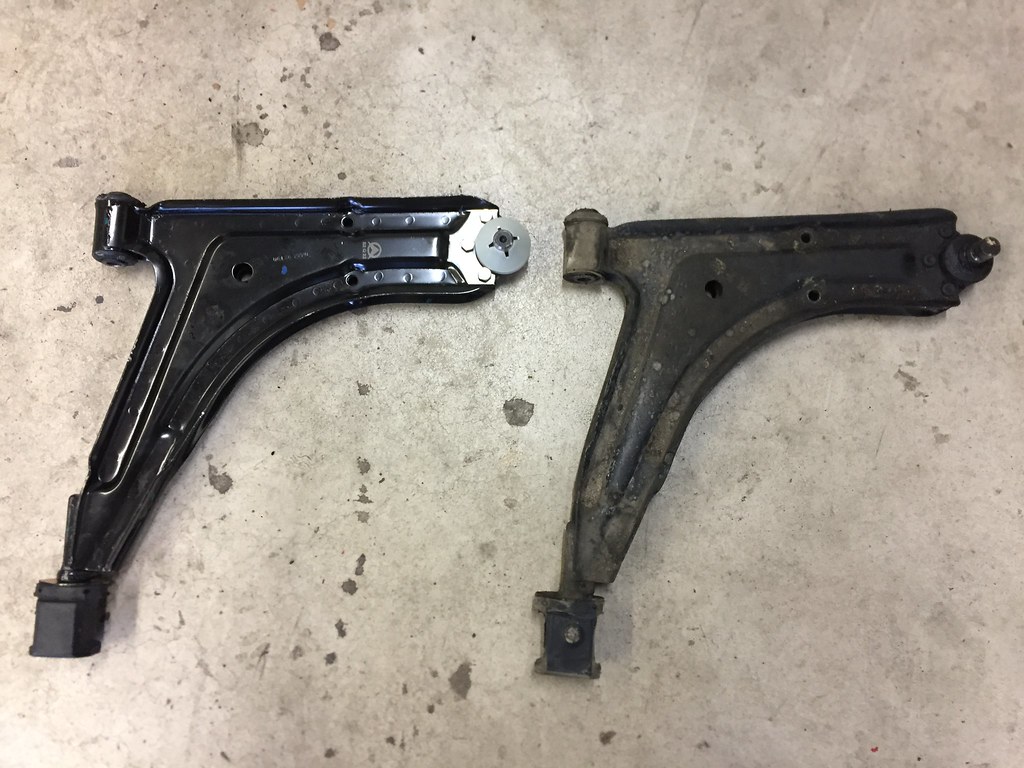
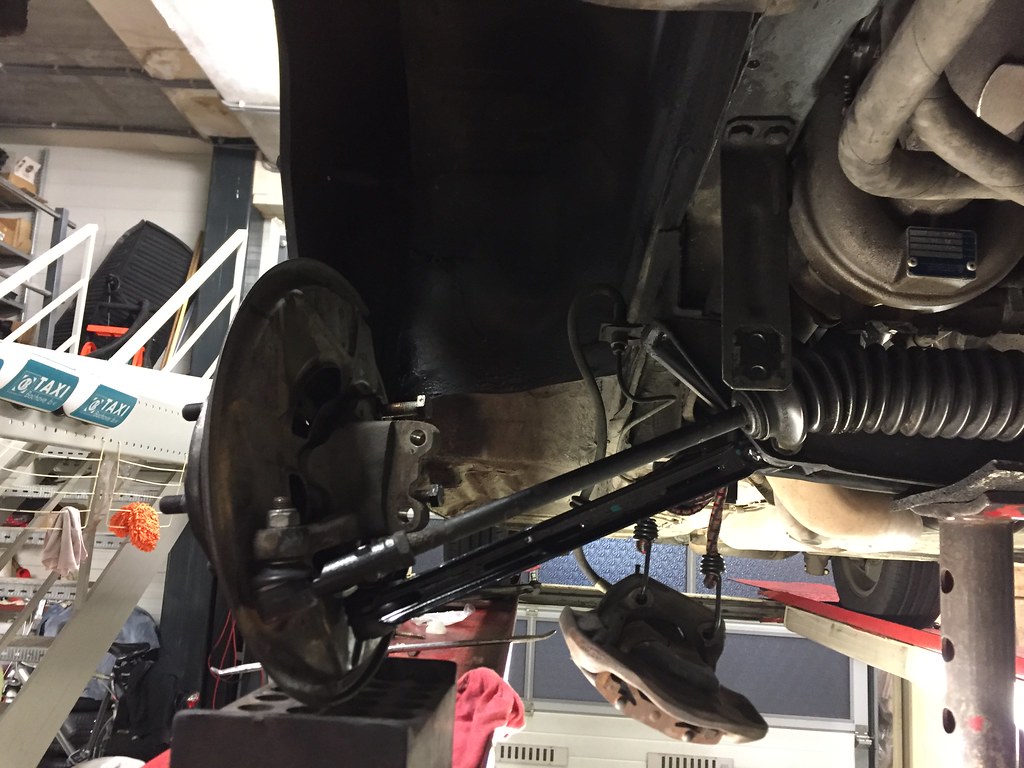
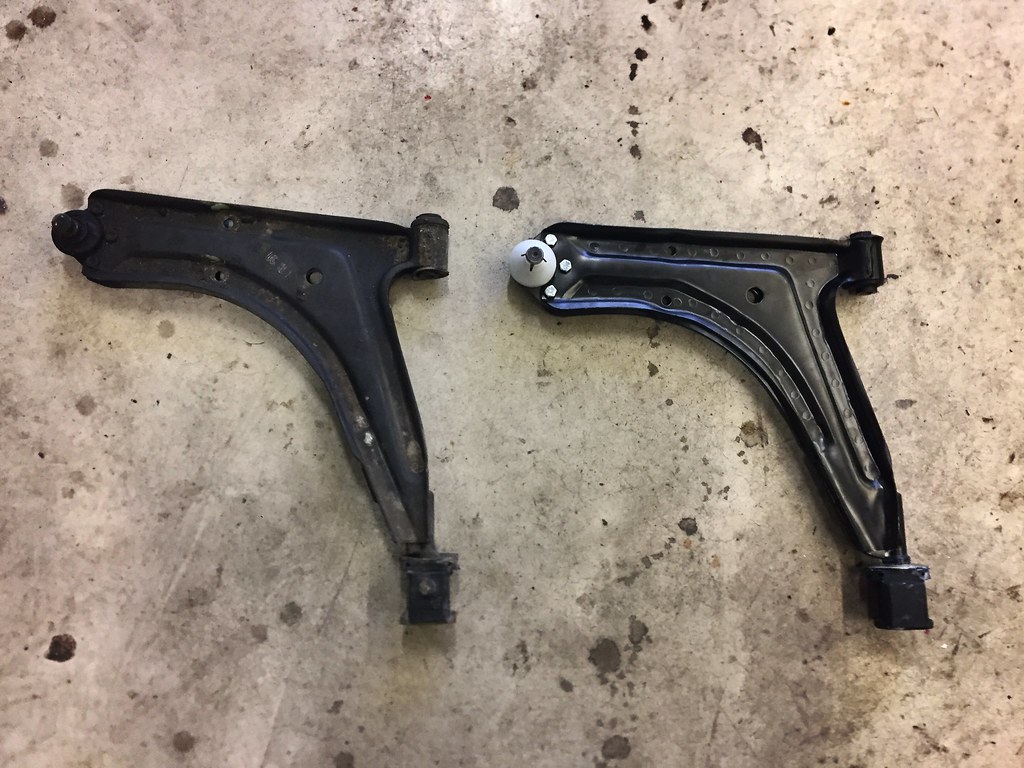
Then it was on to the front suspension. This is a little more involved than the rears but relatively easy if you take your time. After some research here on this forum and other 924 resources I ended up buying a brand new set of control arms with all the bushings and ball joints installed for just 80. Just the Bushes and ball joints from Porsche would have set me back 300 
Me happy 
After about an hour the first control arm was out. The toughest bit was breaking the bolts free after 33 years
New vs. Old
Then I took some time to clean up the mounting points and brackets
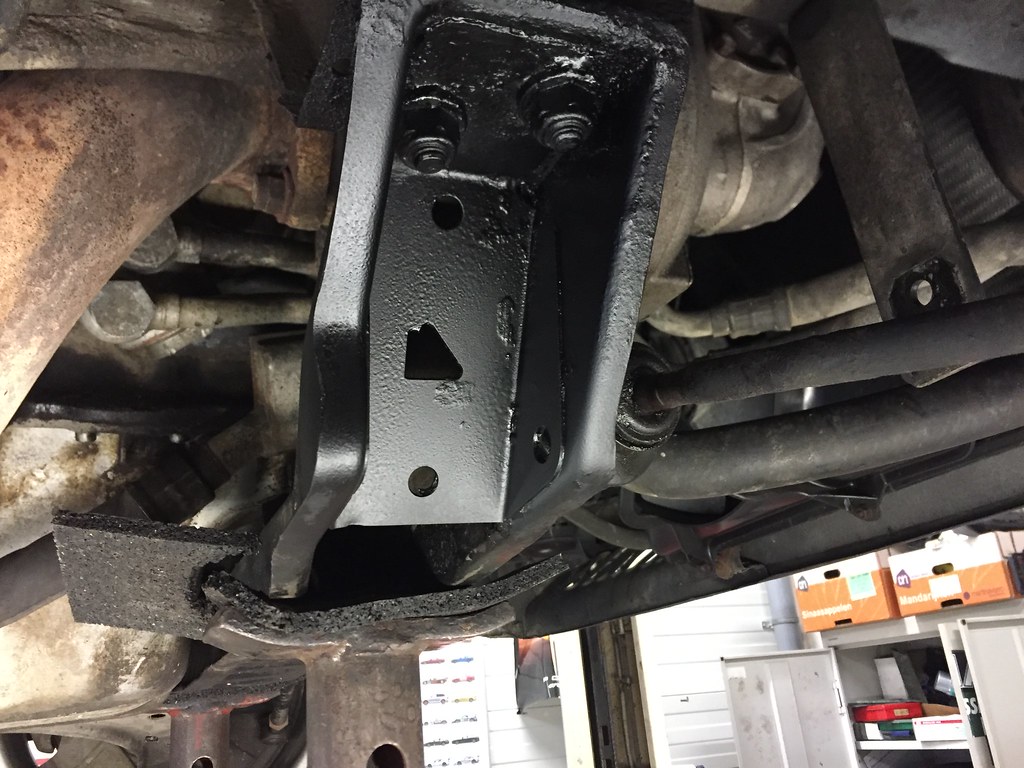 
Installed Control Arm
Because the caster bushes that came with the control arms were not correct, I ordered the correct bushes to replace the ones that came with the control arms. However the left control arm was giving me all kinds of grief with the new bush. I just could not get it more than half way onto the shaft 
I eventually decided to leave it for another day and move on to removing the struts.
This was quite an easy job and was done in less than an hour :cheers:
I will rebuild the struts this week with new B6 inserts, rubbers and top mounts

With a bit of luck I will have the car on its wheels again in two weeks |
|
| Back to top |
|
 |
Johann
Joined: 07 Aug 2016
Posts: 240
Location: Netherlands
|
| Posted: Sun Jan 15, 2017 4:36 am Post subject: |
|
|
Today I made some more progress with the suspension upgrade of the 931
A friend, who is a classic Porsche Mechanic, helped me to rebuild the struts since I did not have the required tools.
Old
New
The first job was shaving down the caster block pin. It was ever so slightly too big for the Porsche version of the Caster block. Once that was done, I removed the old control arm
Old vs. New
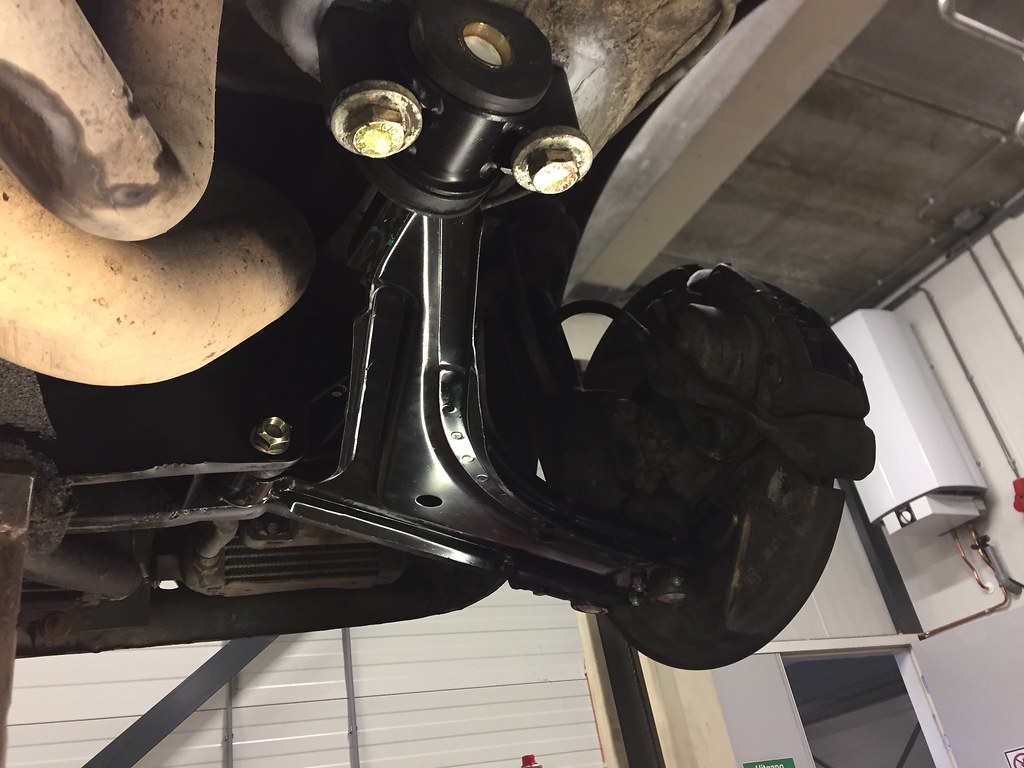
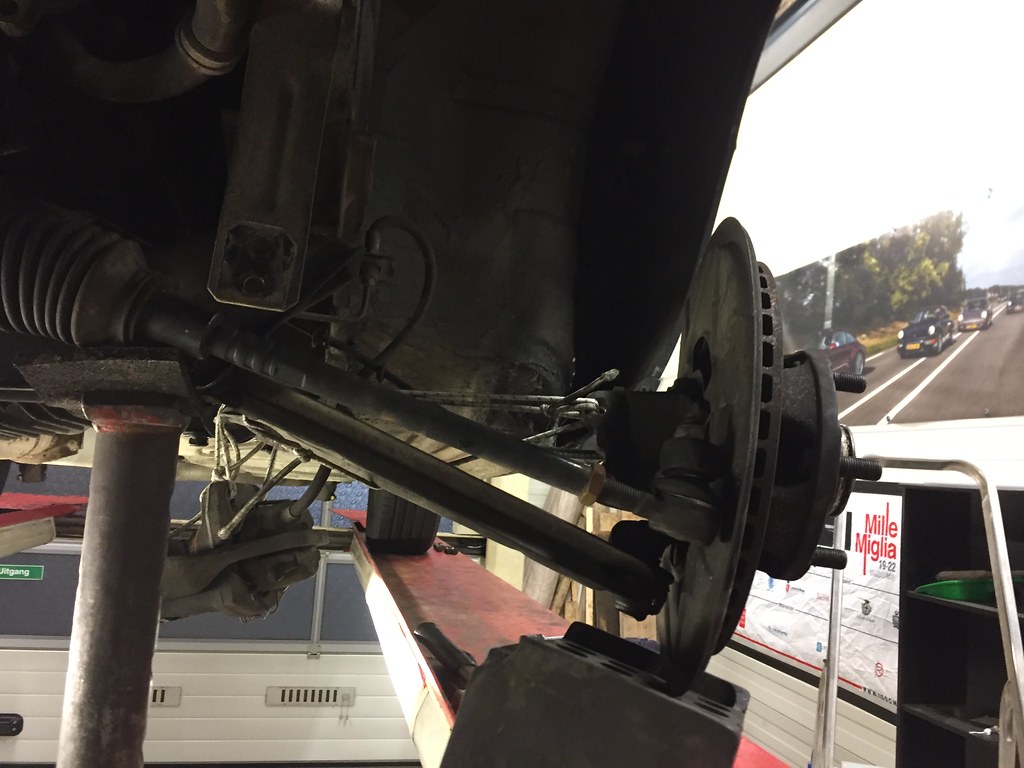
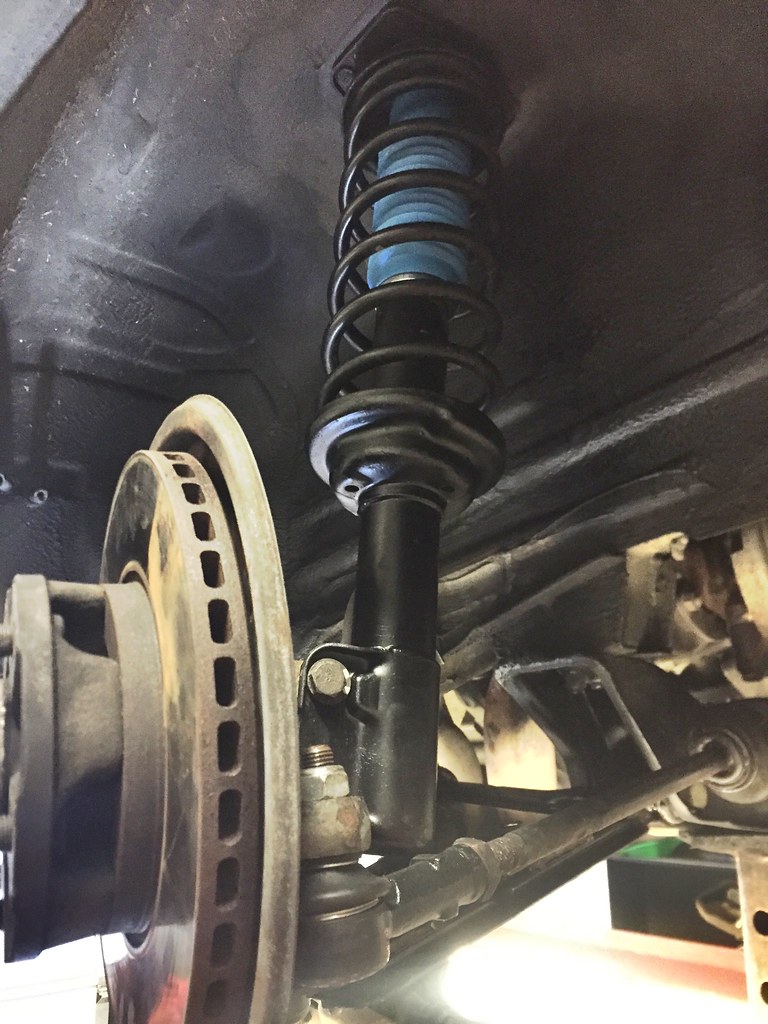
Once the new control arms was fitted I started fitting the rebuilt struts
Right hand side done
Left hand side done
Once everything was in its place I double checked all bolts and nuts, mounted the wheels and slowly dropped that car back on the wheels. Then I torqued everything to the correct specifications.
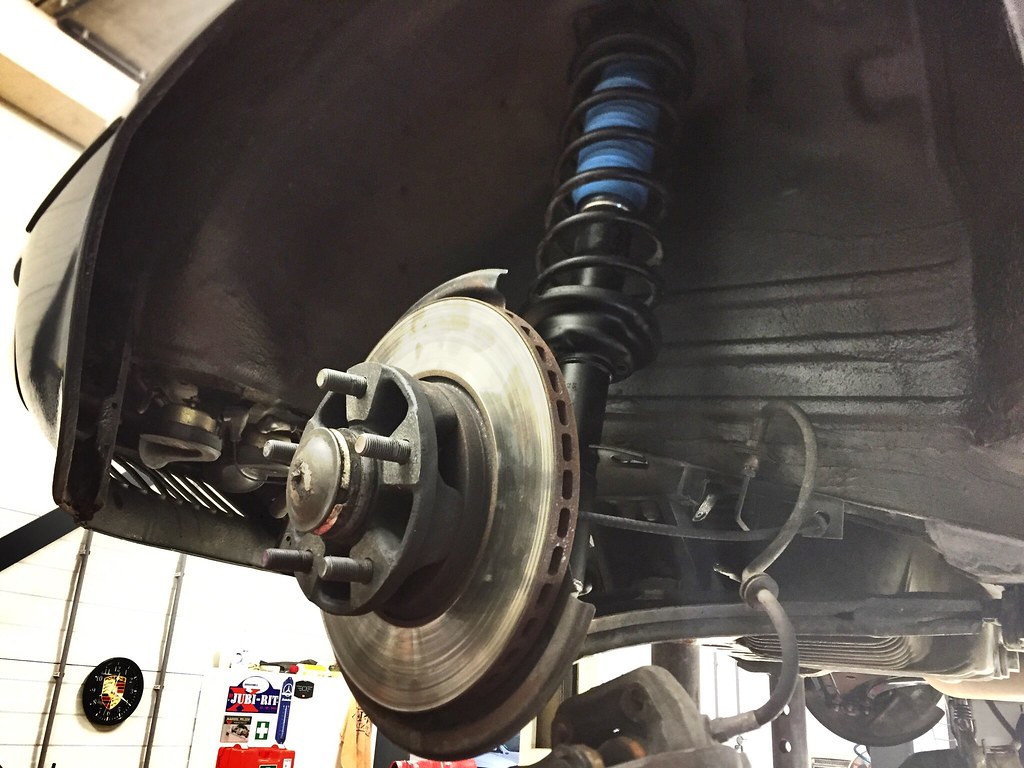
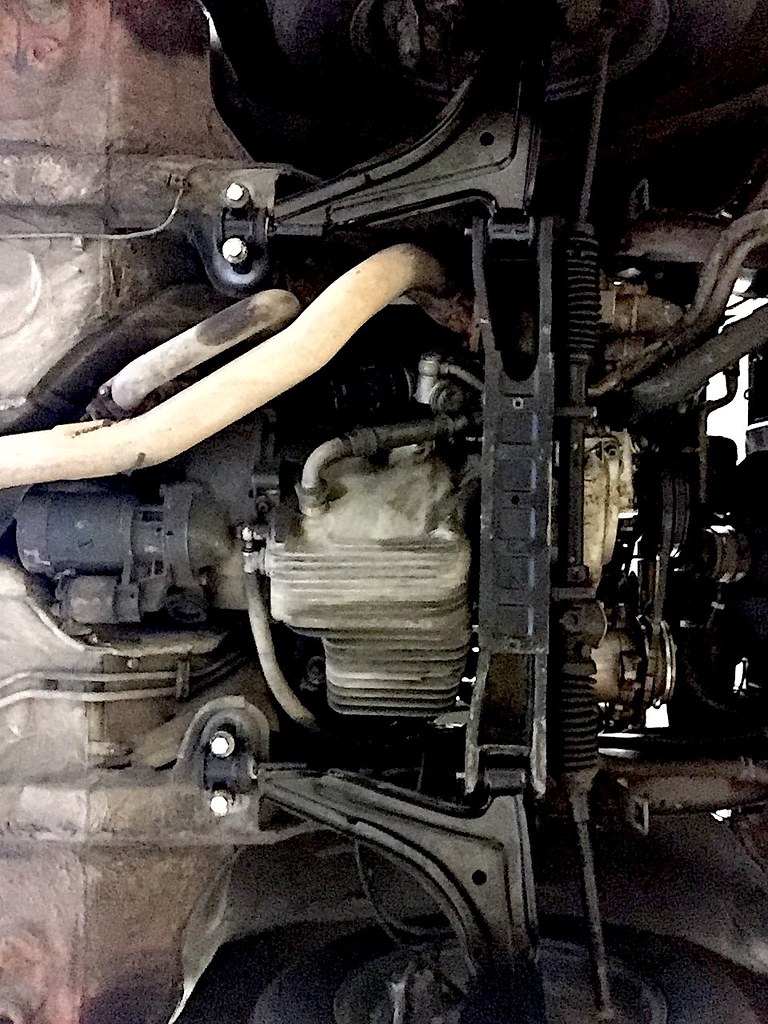
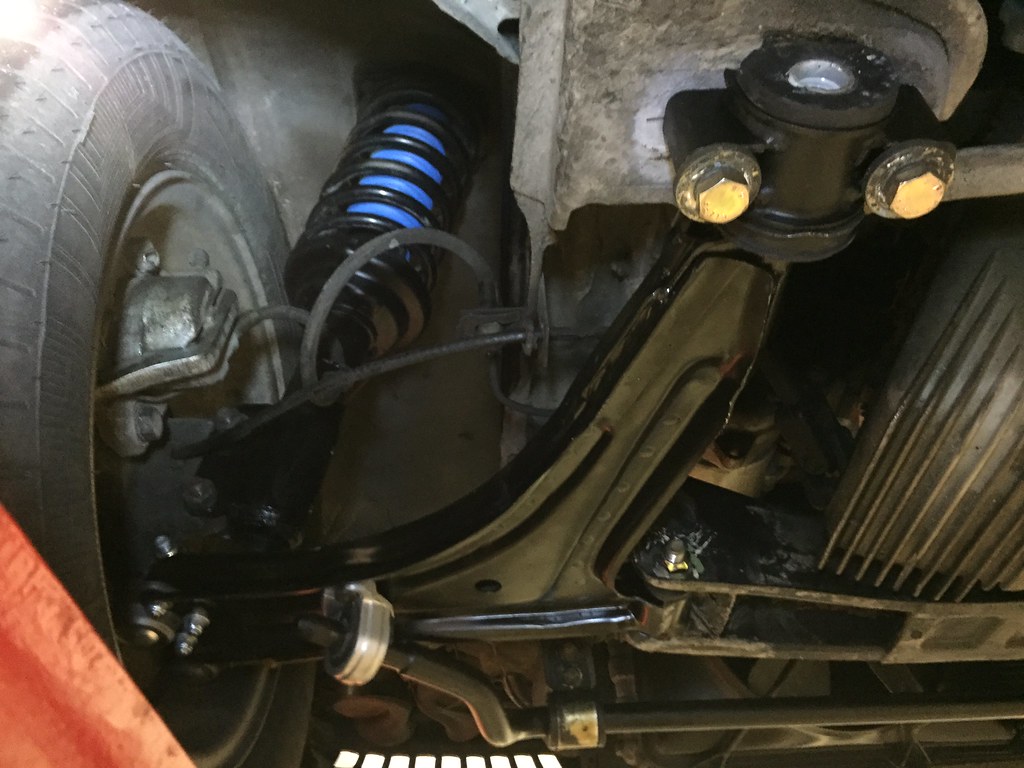
Upskirt shot
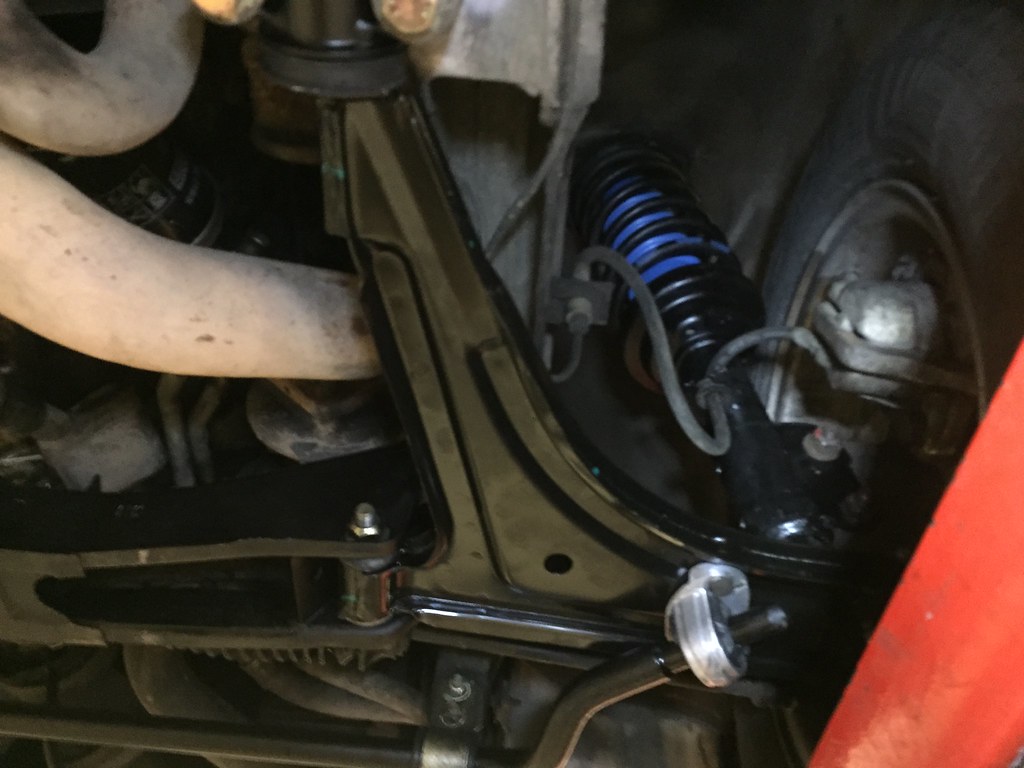
Front susension
Rear suspension (I just love those green shocks )

Now I just need to refurbish the anti sway bars and get a fresh allignment done and we are ready for spring |
|
| Back to top |
|
|
ideola

Joined: 01 Oct 2004
Posts: 15548
Location: Spring Lake MI
|
| Posted: Sun Jan 15, 2017 6:18 am Post subject: |
|
|
Looking great! You're going to LOVE the handling
_________________
erstwhile owner of just about every 924 variant ever made |
|
| Back to top |
|
|
morghen

Joined: 21 Jan 2005
Posts: 8884
Location: Romania
|
| Posted: Sun Jan 15, 2017 6:55 am Post subject: |
|
|
looks great indeed. Don't the rears need rebushing as well?
_________________
https://www.the924.com |
|
| Back to top |
|
|
Dutch924-racer

Joined: 23 Jul 2007
Posts: 1077
Location: The Netherlands
|
| Posted: Sun Jan 15, 2017 7:43 am Post subject: |
|
|
Great! Did you test it on the road already or do you have to wait untill march?
_________________
937 trackday car
Series 2 engine
951S turbo and intercooler
Fast road camshaft
Forge recirculation valve + boost controller |
|
| Back to top |
|
|
Johann
Joined: 07 Aug 2016
Posts: 240
Location: Netherlands
|
| Posted: Sun Jan 15, 2017 8:04 pm Post subject: |
|
|
| morghen wrote: | | looks great indeed. Don't the rears need rebushing as well? |
The shocks are brand new Morghen, or do you mean the rubbers in and around the torsion bars? I might still get into it at some point but for now I believe they are OK. I checked all the rubbers and they are not showing signs of being worn.
I have also been told by a guy who races transaxles that he has never had to rebuild the rear suspension on these cars. And to be honest I really do not want to remove the gearbox again, that was a lot of work 
I will have to wait until March before I can really test it, but I will be driving it about 500 meters to the alignment guys in a week or so |
|
| Back to top |
|
|
Johann
Joined: 07 Aug 2016
Posts: 240
Location: Netherlands
|
| Posted: Sun Jan 22, 2017 7:13 am Post subject: |
|
|
Today I finally finished my suspension upgrade.
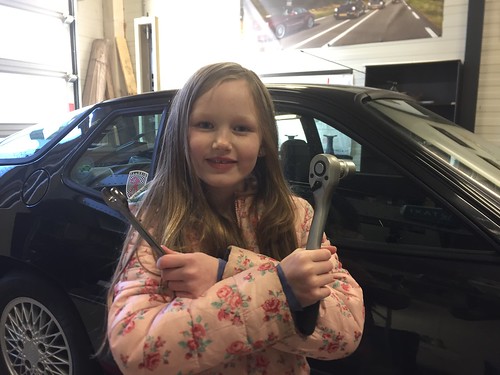
This morning, with the help of my nine year old daughter, i finished the last jobs. She mostly helped with handing me tools and taking photos
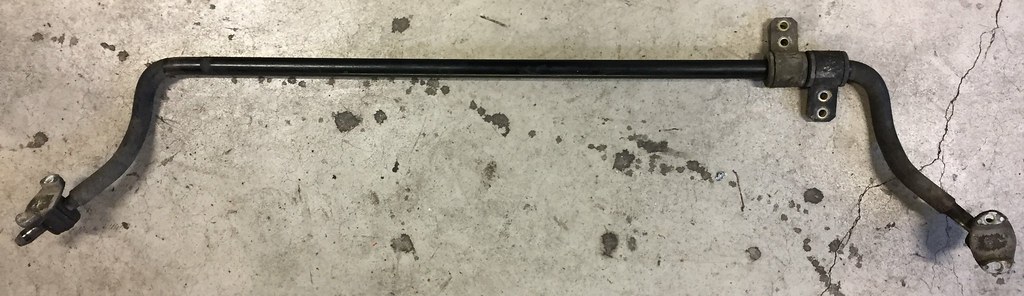
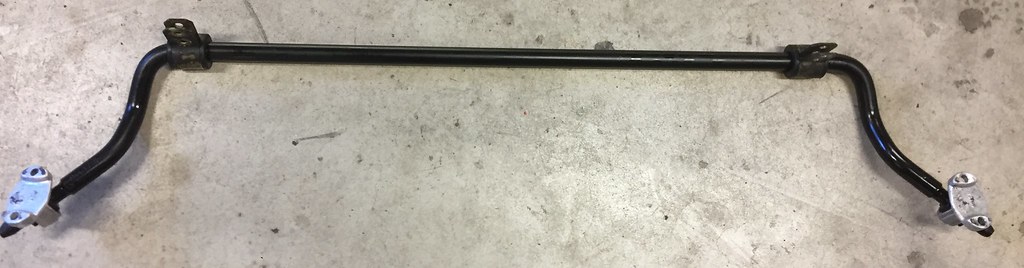
The job for today was overhauling the front anti sway bar. It was actually on pretty good nick, with no rust, but the bushes were past their best.
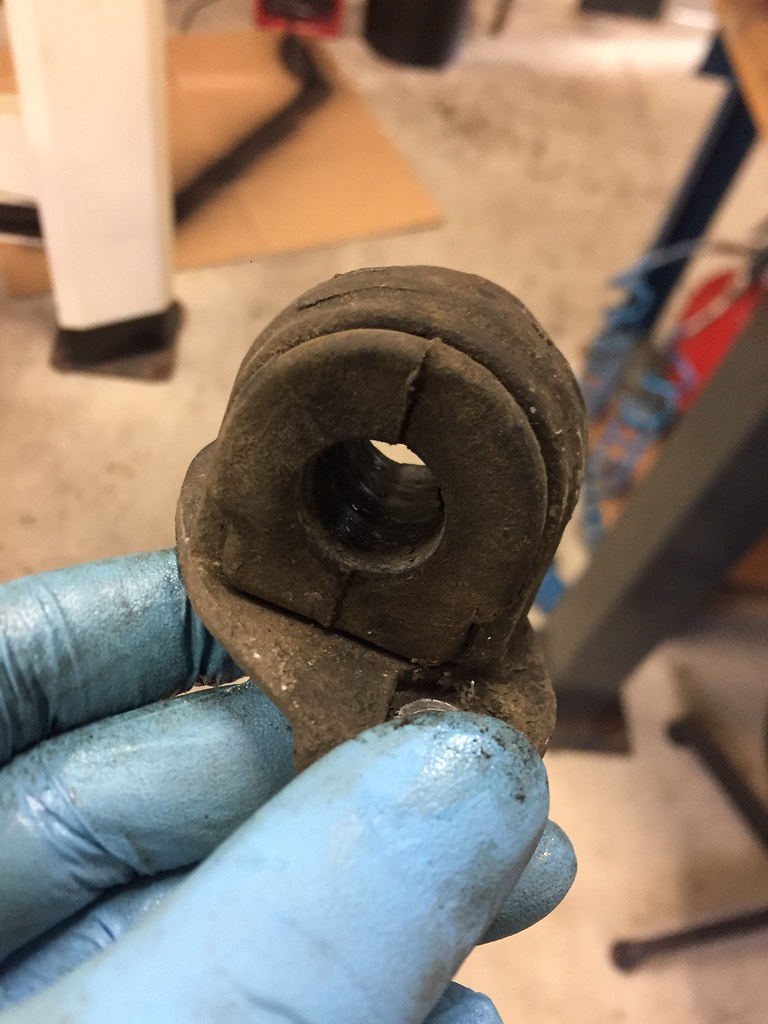
I took it all apart, pushed out the old bushes, cleaned everything up and pressed in new bushes
Dirty brackets and rock hard bushes
Bushes removed and one bracket cleaned up
All clean with fresh bushes

I gave the anti sway bar a lick of paint en rebuilt it. It looks almost like new again
Finlay I installed the bar under the car again. It was quite a challenge to get it to align with the holes, but I took my time it eventually got everything to line up.
Here are some shots of the final result for the front suspension.
Now I just to to get an alignment done. |
|
| Back to top |
|
|
knobby
Joined: 23 May 2011
Posts: 43
Location: Cincinnati,Ohio
|
| Posted: Fri Jan 27, 2017 4:09 am Post subject: |
|
|
Amazing job Johann,well done!!!
Did you decide to leave the inner tie rods?
If they are the originals what I have found is the nylon lining of the inner socket disintegrates from age and turns to mush.
I'm just saying this because you would obviously want to check that before getting the alignment.
_________________
81 RED 931 S2(daily driver),81 WHITE 931 S2(not currently drivable).
Cincinnati,Ohio |
|
| Back to top |
|
|
Johann
Joined: 07 Aug 2016
Posts: 240
Location: Netherlands
|
| Posted: Mon Jan 30, 2017 5:40 am Post subject: |
|
|
I replaced all tie rods about six months ago Knobby (inside and outside on both sides), so they are still nice and fresh.
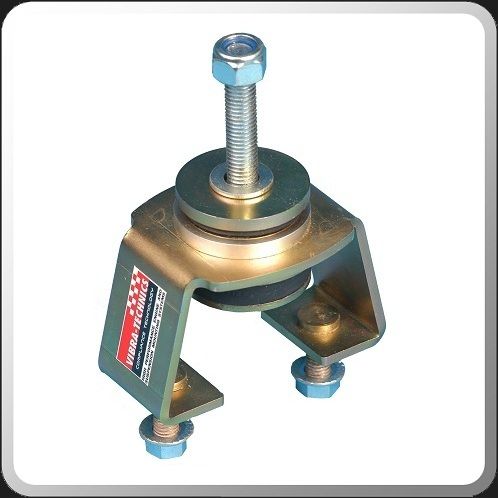
Today I replaced the motor mounts. I won an auction on ebay and got a very good deal on these Vibra-Technis road motor mounts. I was unable to find much information on doing the swap on th interwebs. The factory manual en Haynes weren't much help either. So it was a bit of an adventure today.
I can now confirm that this is a very frustrating job. It took me almost 8 hours to do this job and I am truly exhausted now. There is no room to get tools and your hands in the right places. On days like these I hate having a turbo  I had to modify three different allen keys to be able to get to the motor mount bracket on the turbo side. I had to shorten and bend them at different lengths and angles. I am also very happy that we have a very well stocker workshop with six sets ratchets and attachments because I had to build some crazy extensions with lots of knuckles for this job I had to modify three different allen keys to be able to get to the motor mount bracket on the turbo side. I had to shorten and bend them at different lengths and angles. I am also very happy that we have a very well stocker workshop with six sets ratchets and attachments because I had to build some crazy extensions with lots of knuckles for this job
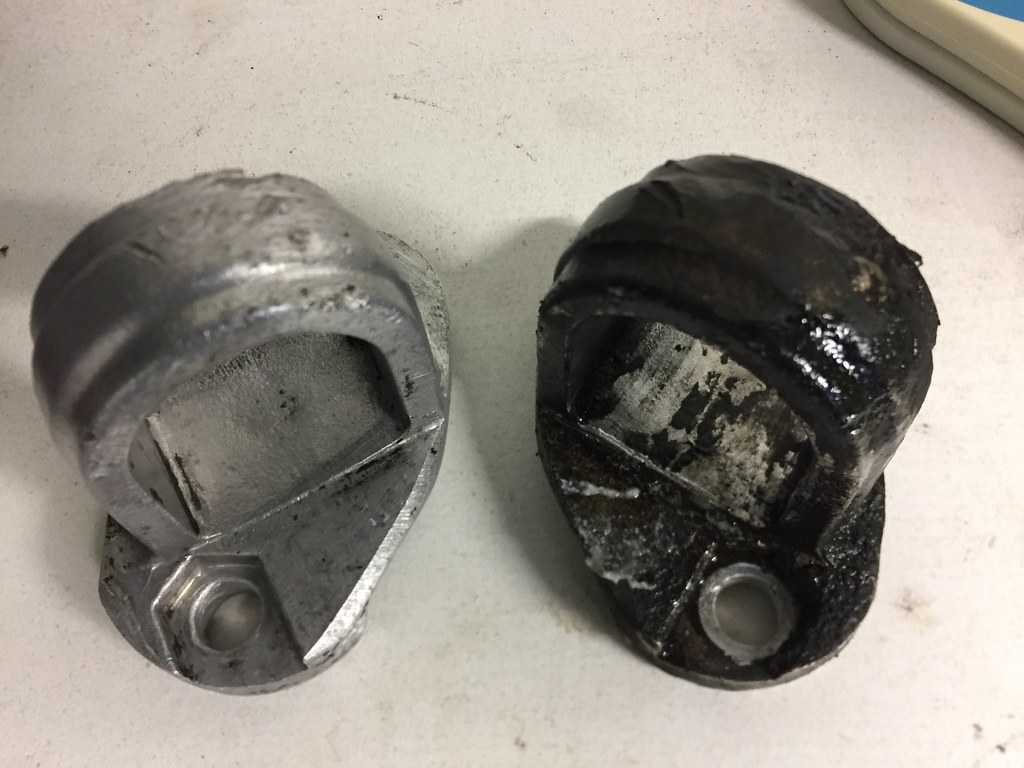
Old vs. New
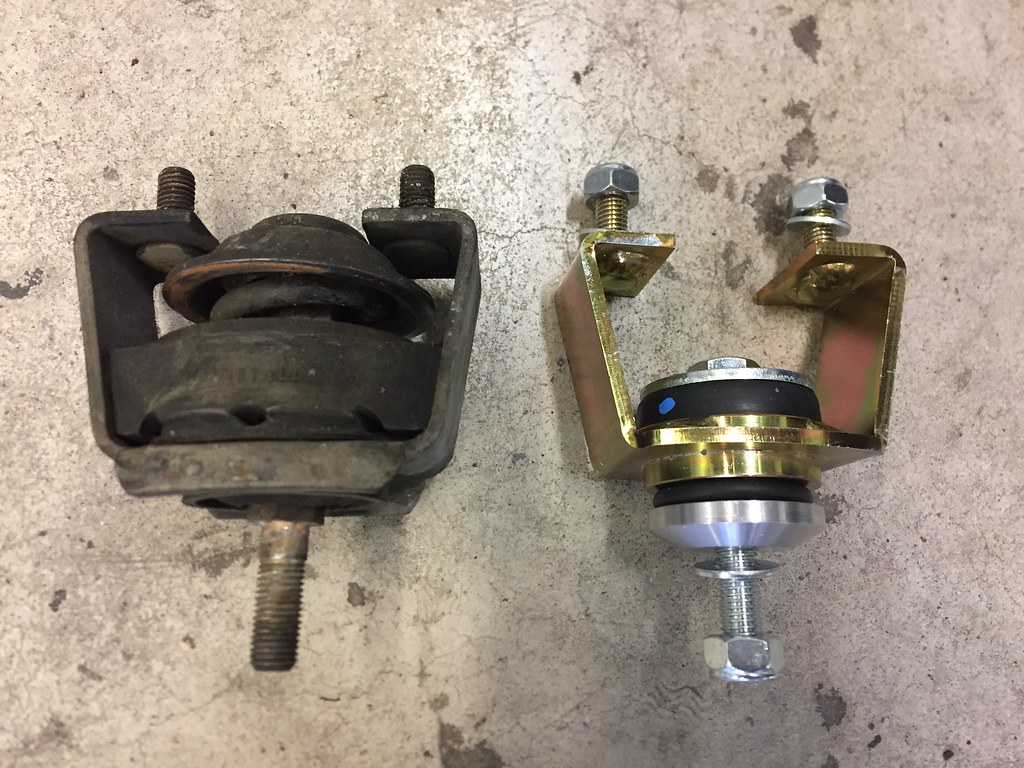
The old mounts aren't all that fresh any more but they are both still in reasonable working condition. The rubber is vary hard but there are no tears and the spring is still intact. I will clean them and save them.
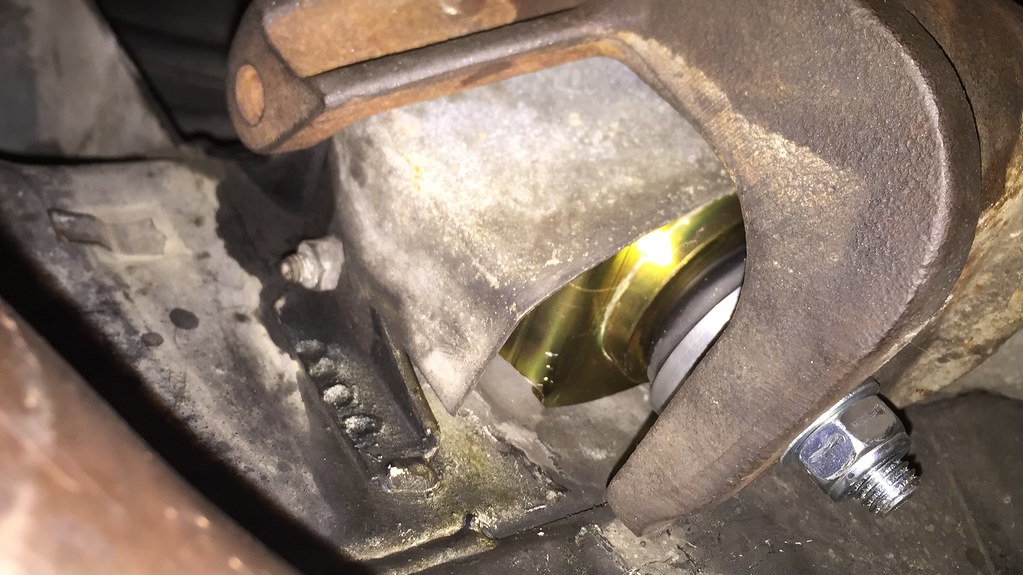
The right hand side was by far the hardest to replace. This is the first time in years that I thought I might not be able to do the job But just short of five hours I succeeded. Imagine that, almost five hours to remove 3 bolts and 3 nuts  I confess, I used quite a few choice words in the process I confess, I used quite a few choice words in the process 
After five hours the right had side mount is replaced.
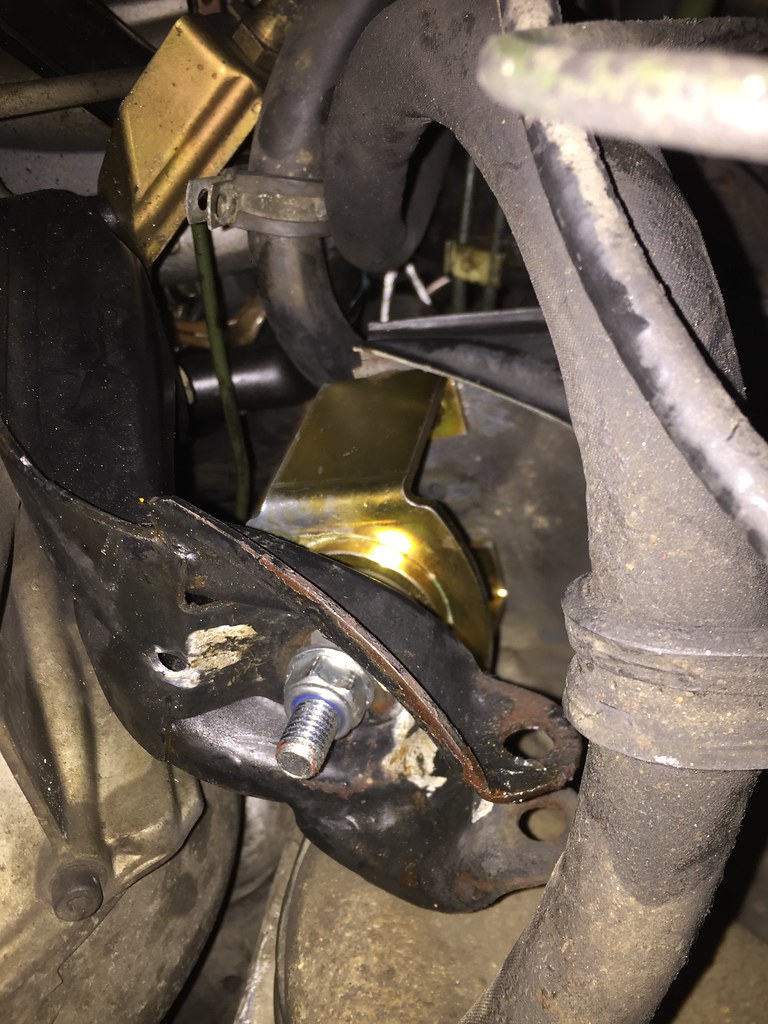
The left hand side mount was a little easier. Also for this mount I needed special tooling. Luckily I could reuse a shortened wrench I made when we rebuilt a friends 944 Turbo. With a lot of patience and counting to ten a couple of time the left hand side mount was done in about two hours.
This week I will have the car aligned and then I just have to wait until the 1st of March before the car is allowed on the roads again |
|
| Back to top |
|
|
knobby
Joined: 23 May 2011
Posts: 43
Location: Cincinnati,Ohio
|
| Posted: Mon Jan 30, 2017 6:12 am Post subject: |
|
|
I know what you mean with that right engine mount as I replaced mine with a NOS original mount a couple of years ago.I had to do it without removing the engine bracket as I simply couldn't get that one Allen bolt.I did not think to grind down and modify Allen wrenches at the time but from what I remember with hind sight that could have worked.
_________________
81 RED 931 S2(daily driver),81 WHITE 931 S2(not currently drivable).
Cincinnati,Ohio |
|
| Back to top |
|
|
Johann
Joined: 07 Aug 2016
Posts: 240
Location: Netherlands
|
| Posted: Mon Apr 24, 2017 7:27 pm Post subject: |
|
|
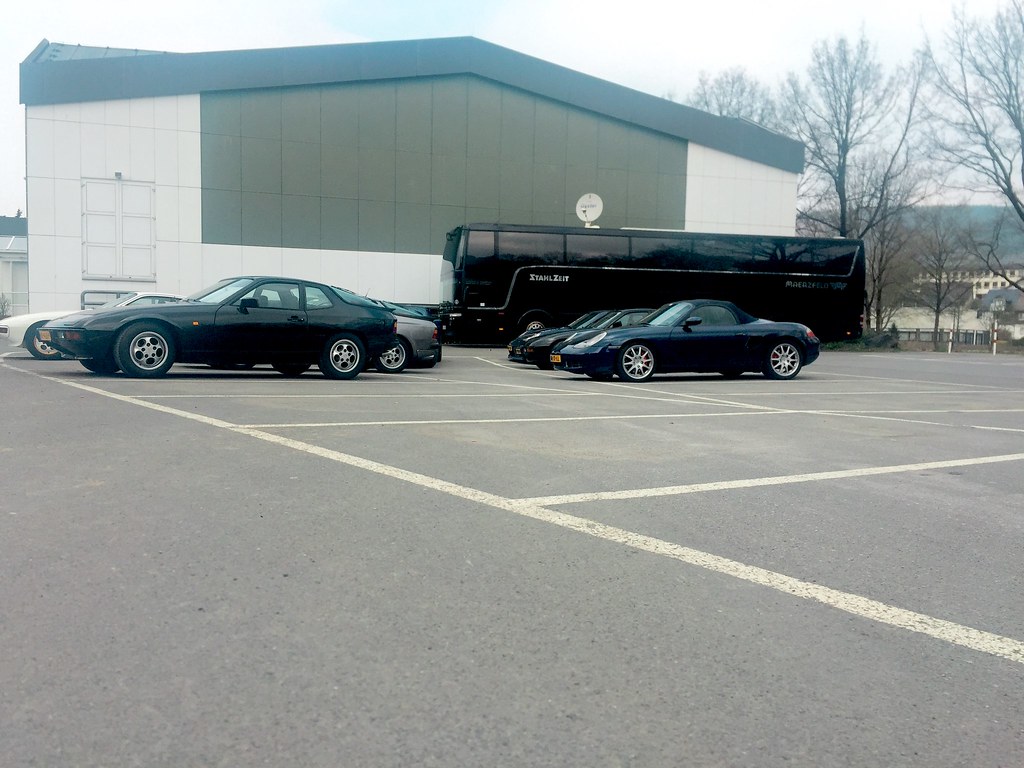
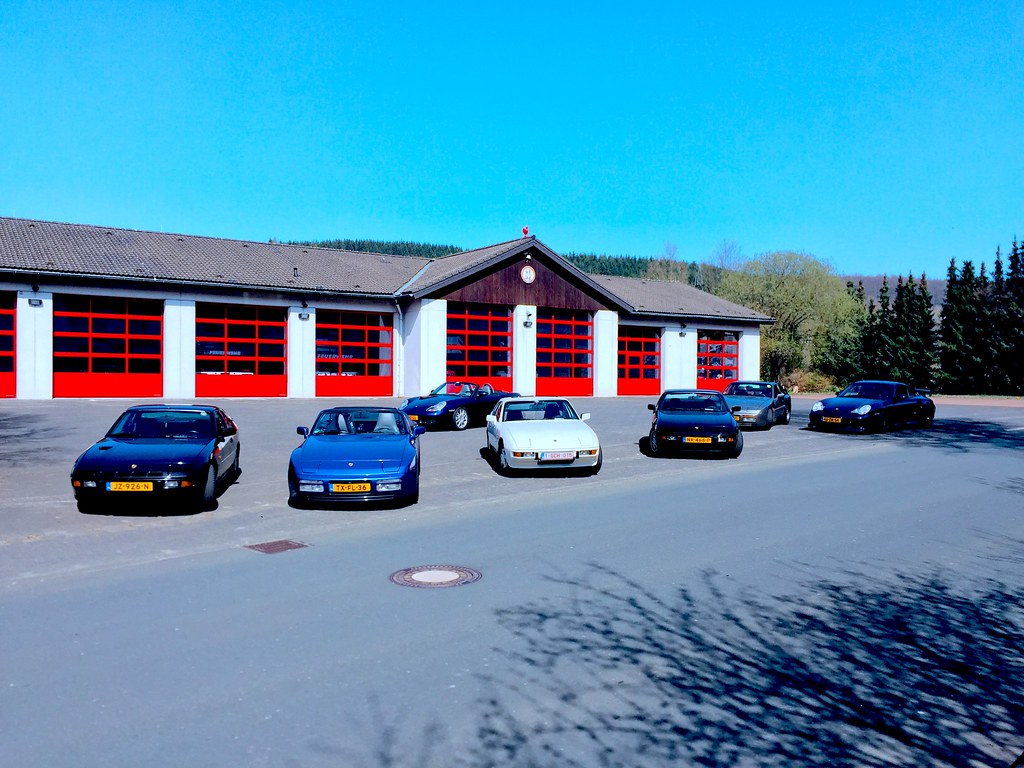
It has been a while since my last update but I keep tinkering on my 931. A couple of weeks ago we did a tour through the Sauerland in Germany. About 1000km of hard driving and the 931 behaved impeccably.
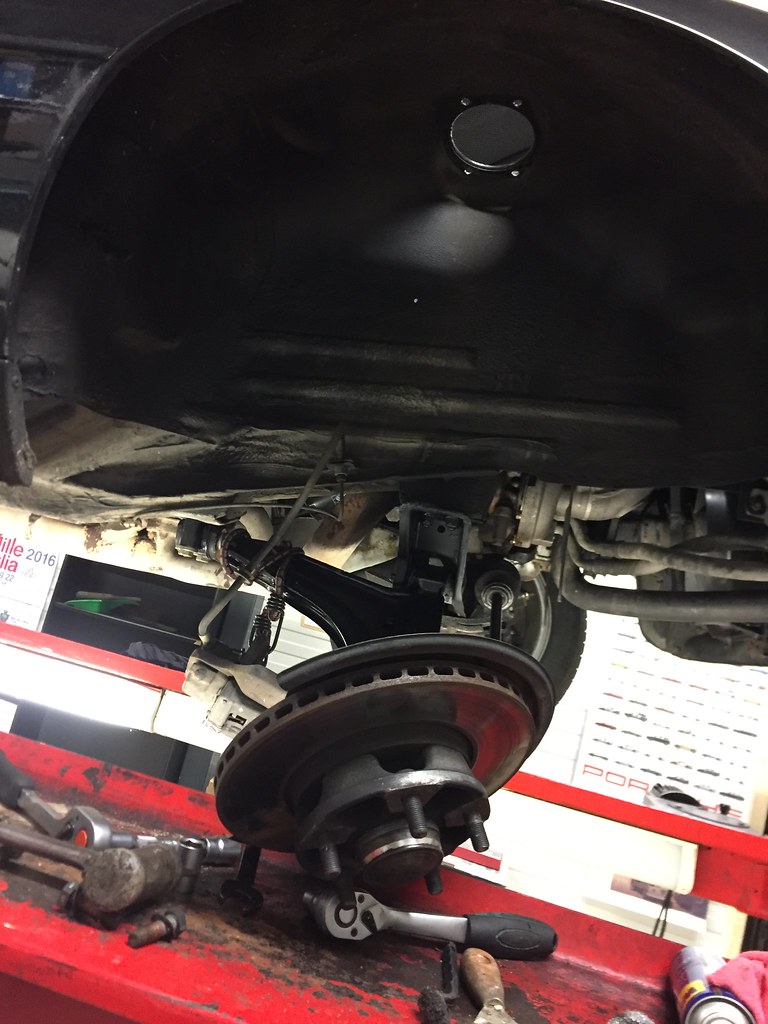
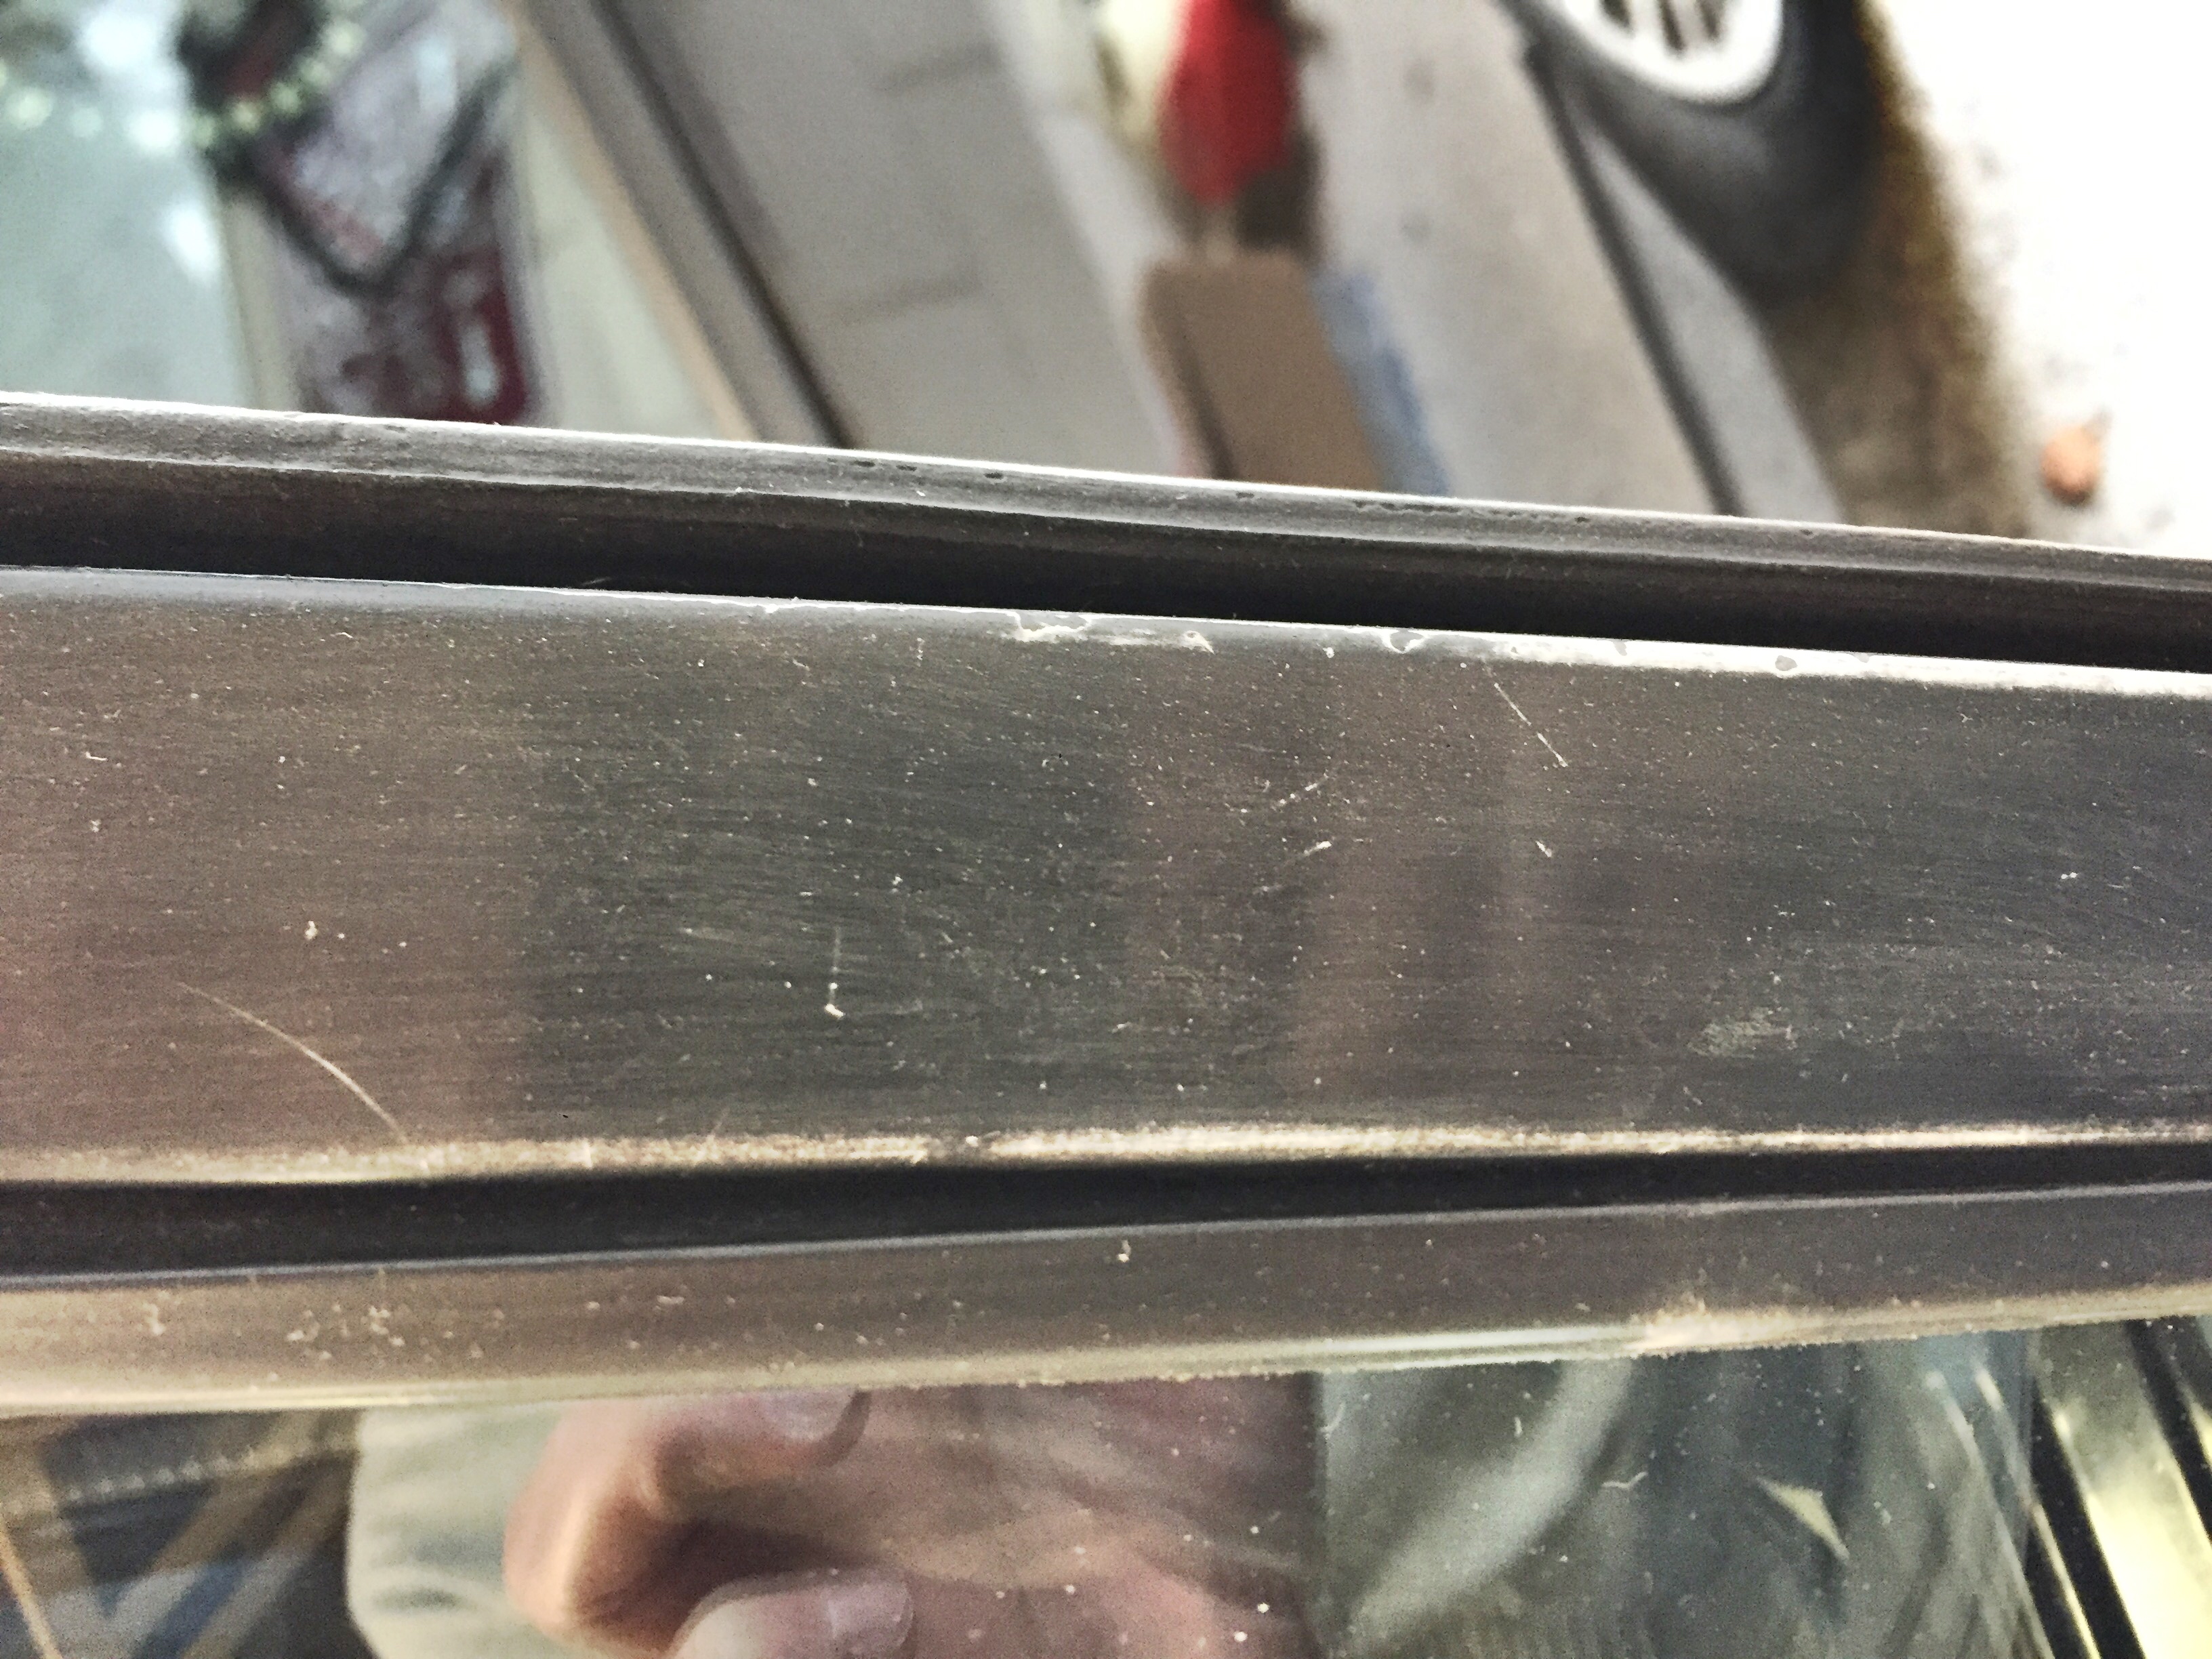
Something that has been bothering me since I bought the car is the fading paint on the B-pillars. So this weekend I decided to do something about it.
As you can see there is a lot of undercoat coming through the black paint

I roughed it up with steel wool
Then hit is with new undercoat
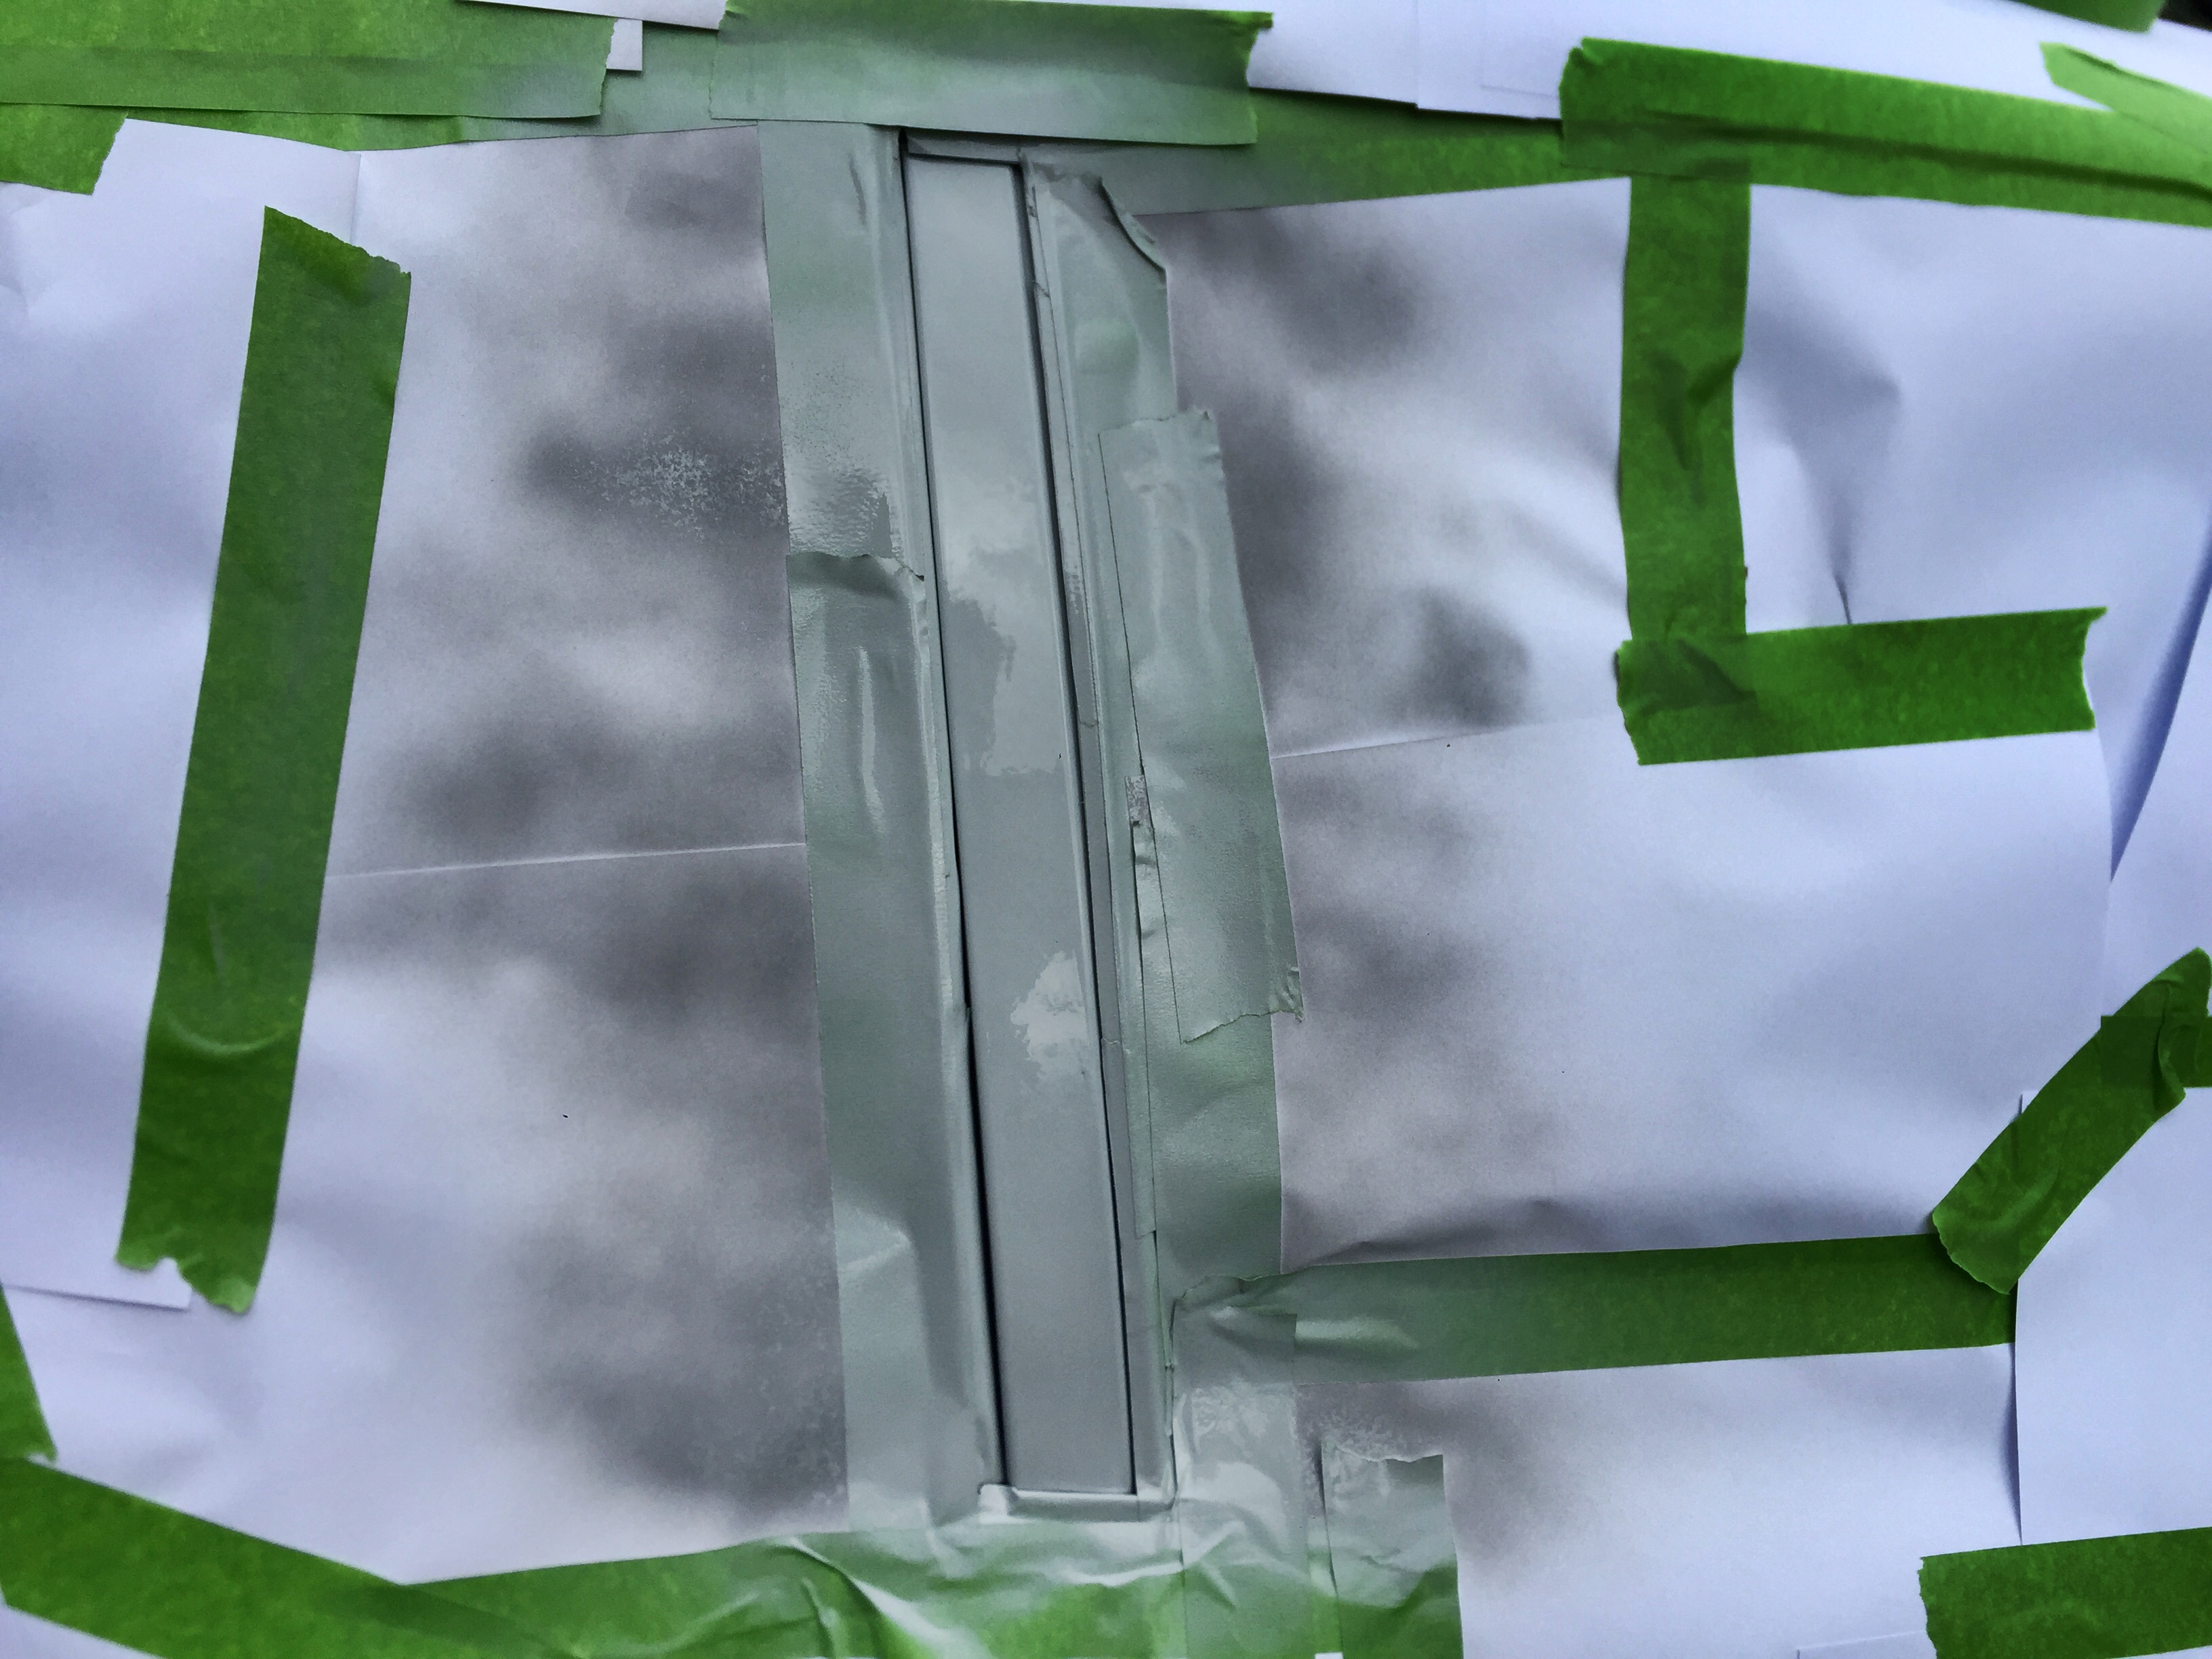
And to top it of a couple of layers of Semi-gloss black

I am very happy with the Result
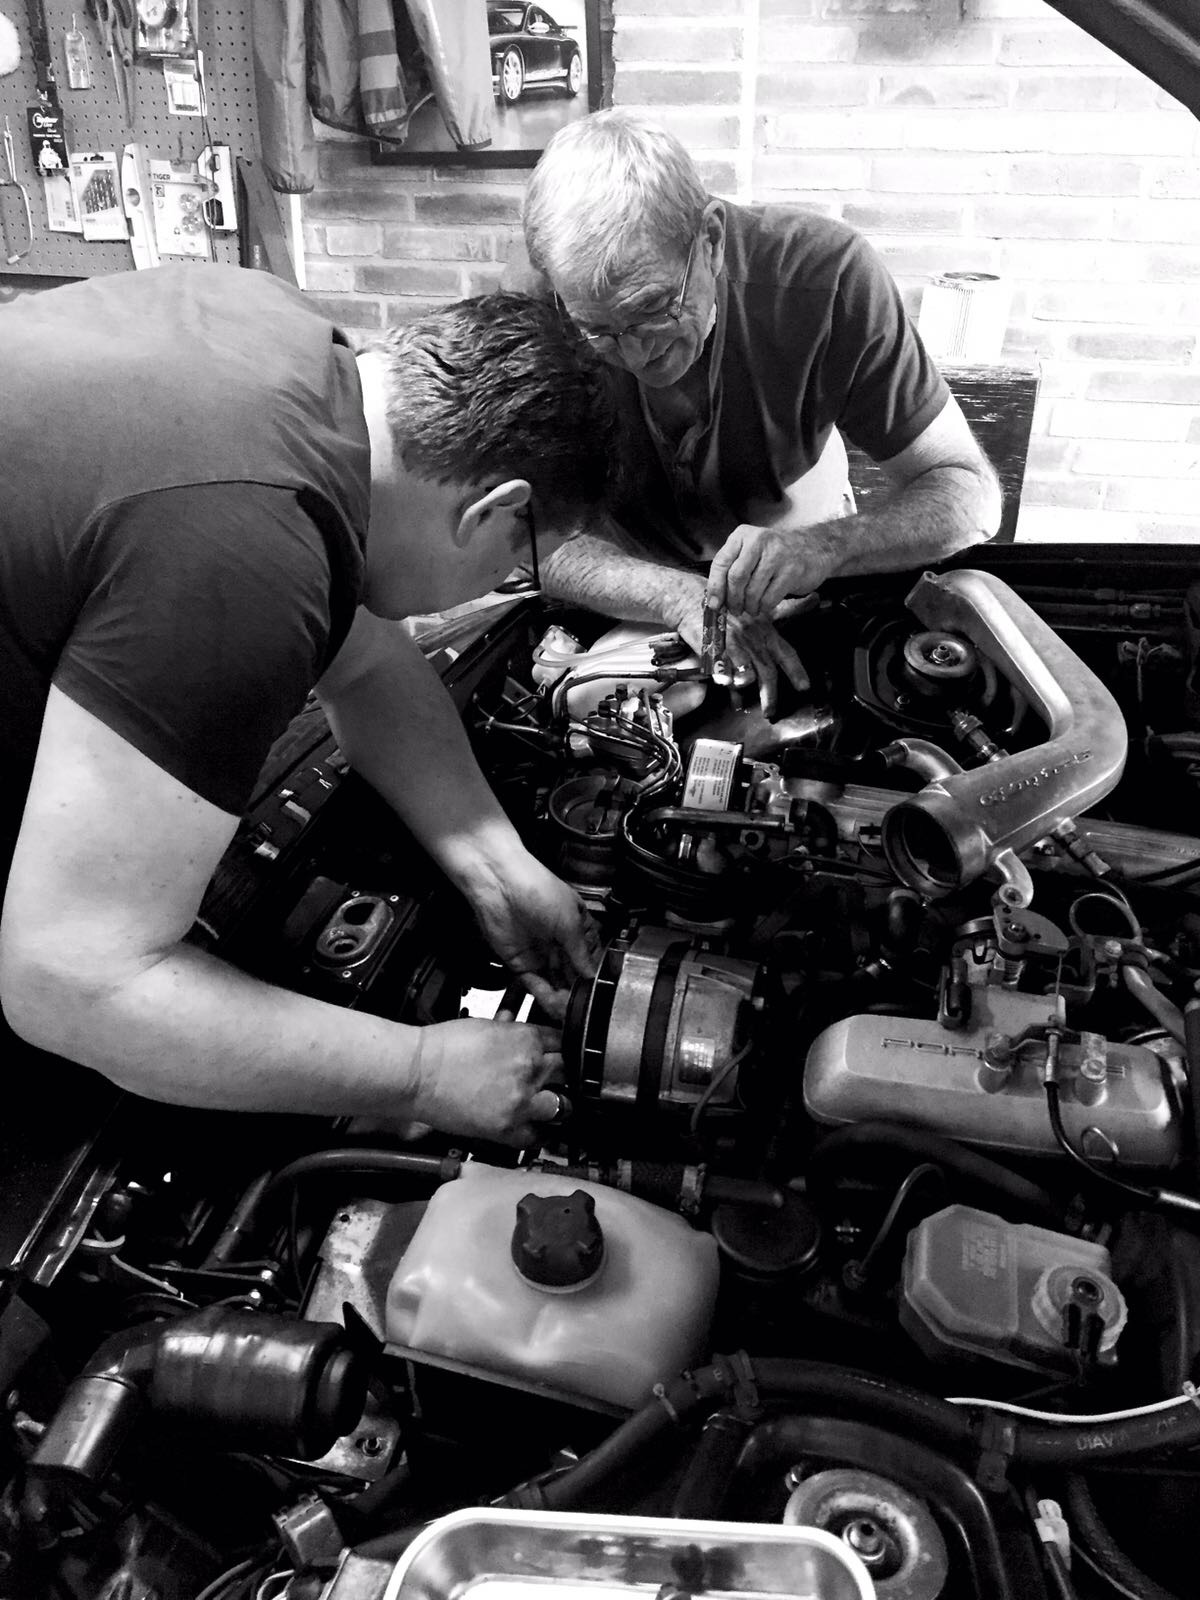
Yesterday I also spent some time with my Father in law's help replacing gaskets and O-rings in the charge tube to eliminate any air leaks while on boost. Good thing I did because one of the jubilee clamps holding the lower charge tube onto the turbo snapped since I last worked on the car. I am sure I was loosing boost because if it because the tube was quite loose. So I bought two new clamps and now everything is as it should be again
 |
|
| Back to top |
|
|
|

