| View previous topic :: View next topic |
| Author |
Message |
Peter
Joined: 04 Nov 2002
Posts: 379
Location: New York, NY
|
 Posted: Fri Nov 17, 2006 9:20 am Post subject: How to Install Control Arm Bushings and Grease Fittings Posted: Fri Nov 17, 2006 9:20 am Post subject: How to Install Control Arm Bushings and Grease Fittings |
 |
|
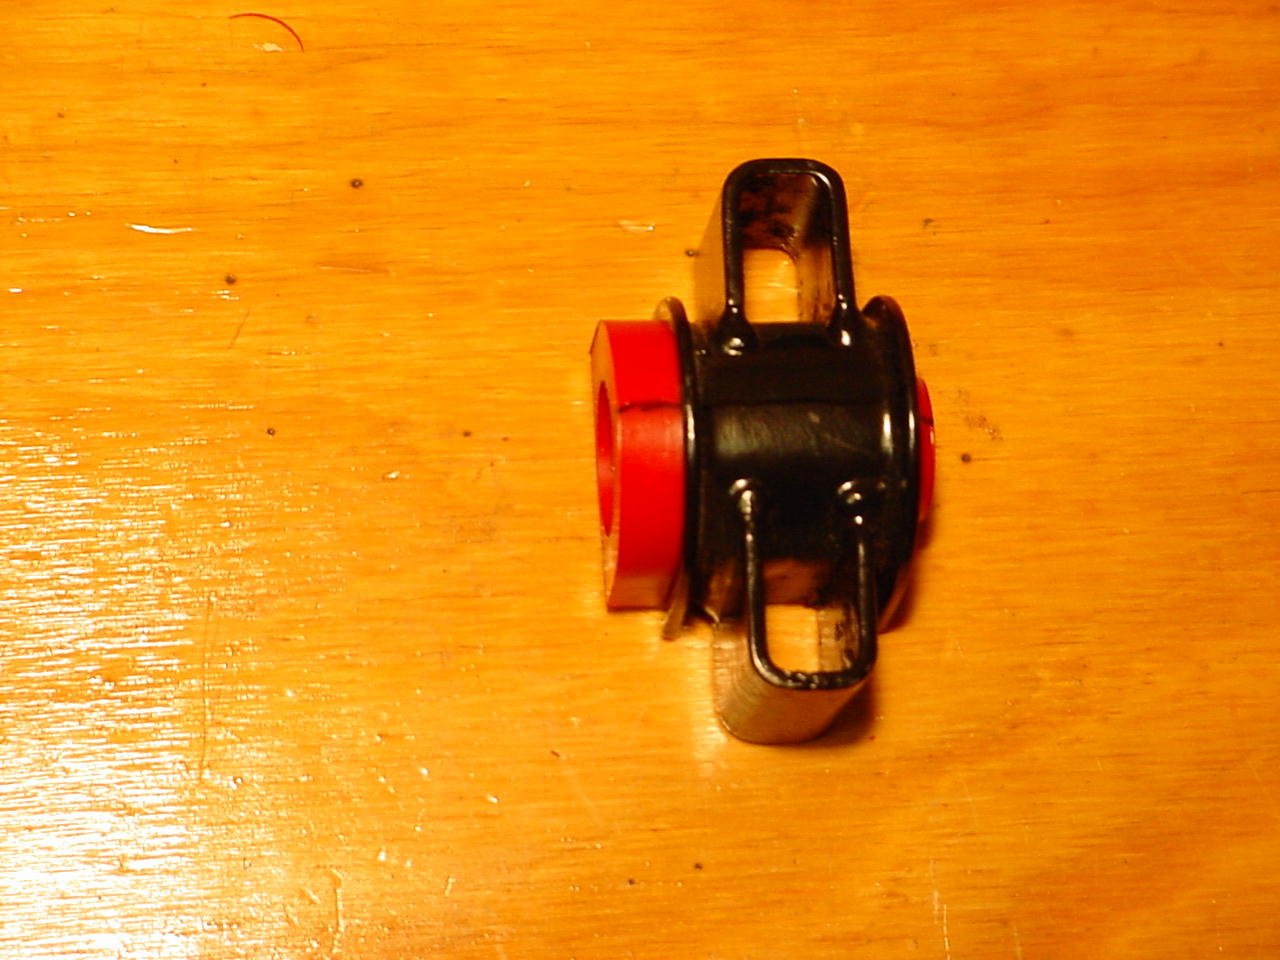
How to Install Polyurethane Control Arm Bushings and Grease Fittings
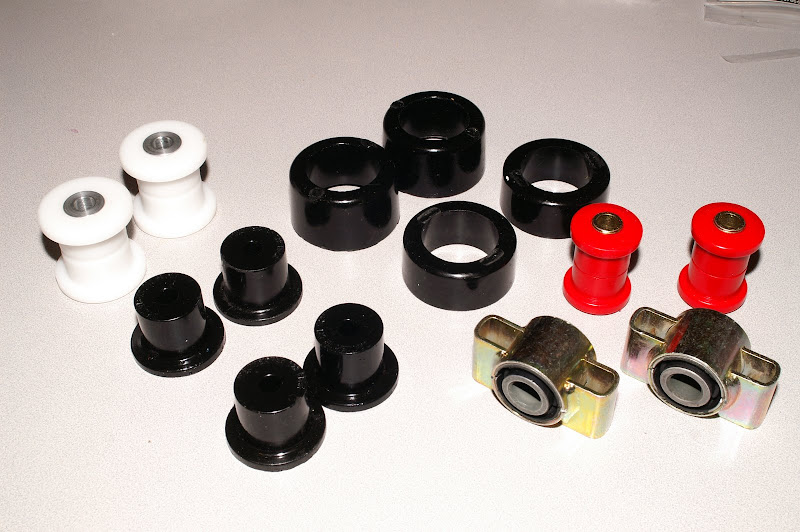
Parts:
Prothane brand Polyurethane 924/931/early 944 front and rear control arm bushings. Prothane Part #22-201 (Rab/Golf 1 Frt A-Arm Bush)
Generic Polyurethane control arm bushings for the Rabbit/Golf, up to 1984 model year, and MK1 Chassis should also fit.
Tools needed:
Calipers
Drill Press
Grease fittings (¼ 28 used in this installation)
15/64 HSS drill bit
¼ -28 tap
¾ Forstner Bit
Hammer
Vice
Fine point hobby knife
Dental pick or thin metal wire
½ cutoff wheel
Tapping liquid
Water
Grease gun w/ general grade automotive grade grease suitable for plastic/rubber
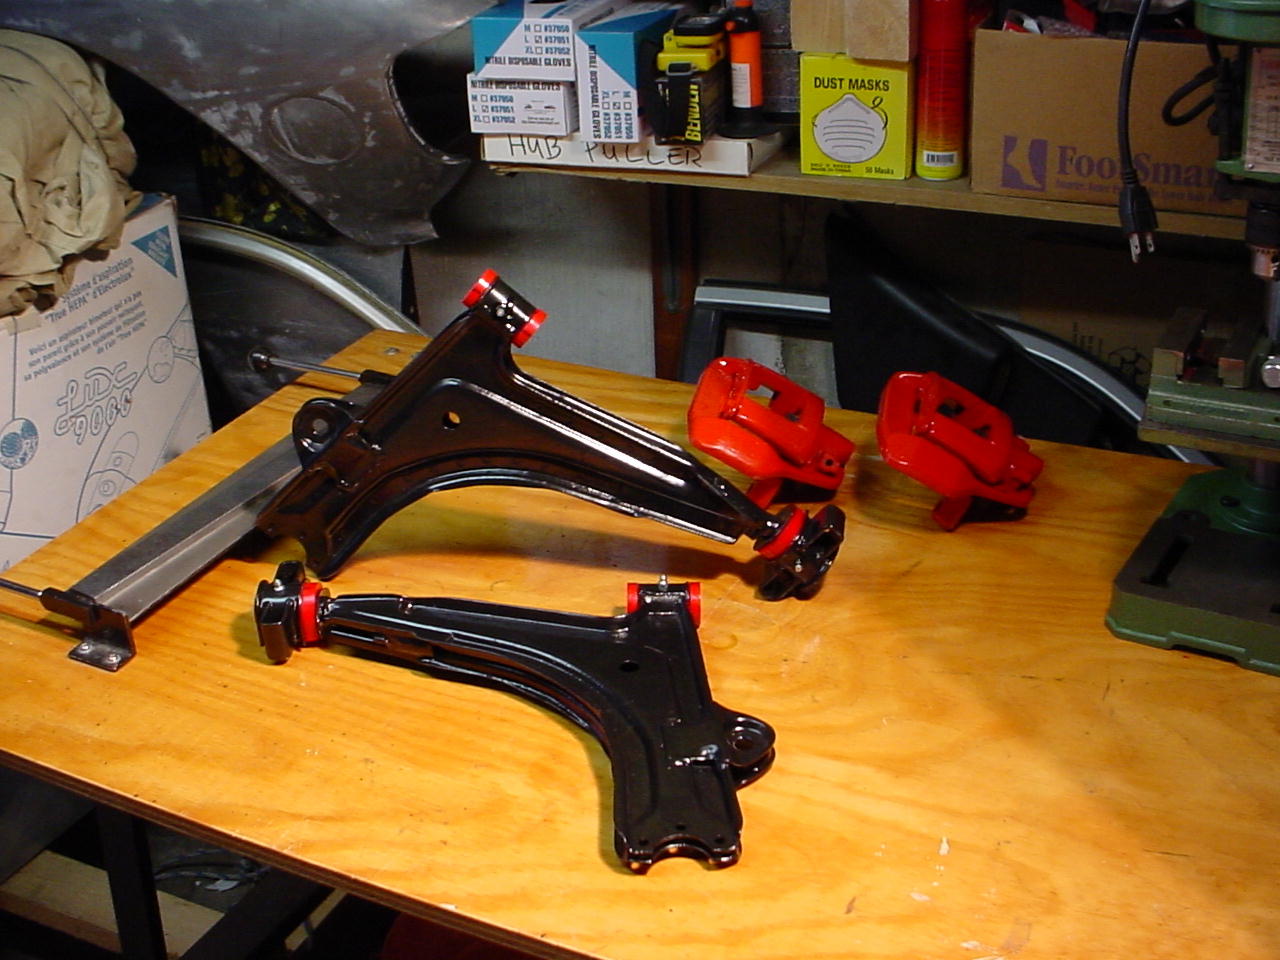
Step 1:
Remove control arms via instructions in the factory or Haynes manuals.
Step 2:
Remove rubber bushings by heating via blow torch. When the rubber bushing is hot enough, it expands and is able to be pried off with a long screw driver.
Step 3:
Clean control arms and paint with 2-part epoxy primer.
Step 4:
With calipers, measure the inside diameter of the rear polyurethane bushing and the outer diameter of the rear control arm mounting post onto which the bushing slides onto. If the sizes are the same, then skip this part. Otherwise, if the inner diameter of the bushing is too small, it needs to be enlarged. Using a ¾ Forstner bit, I bored out the inner diameter. I used liberal amounts of water to cool the bit and facilitate a quicker& cleaner cut.
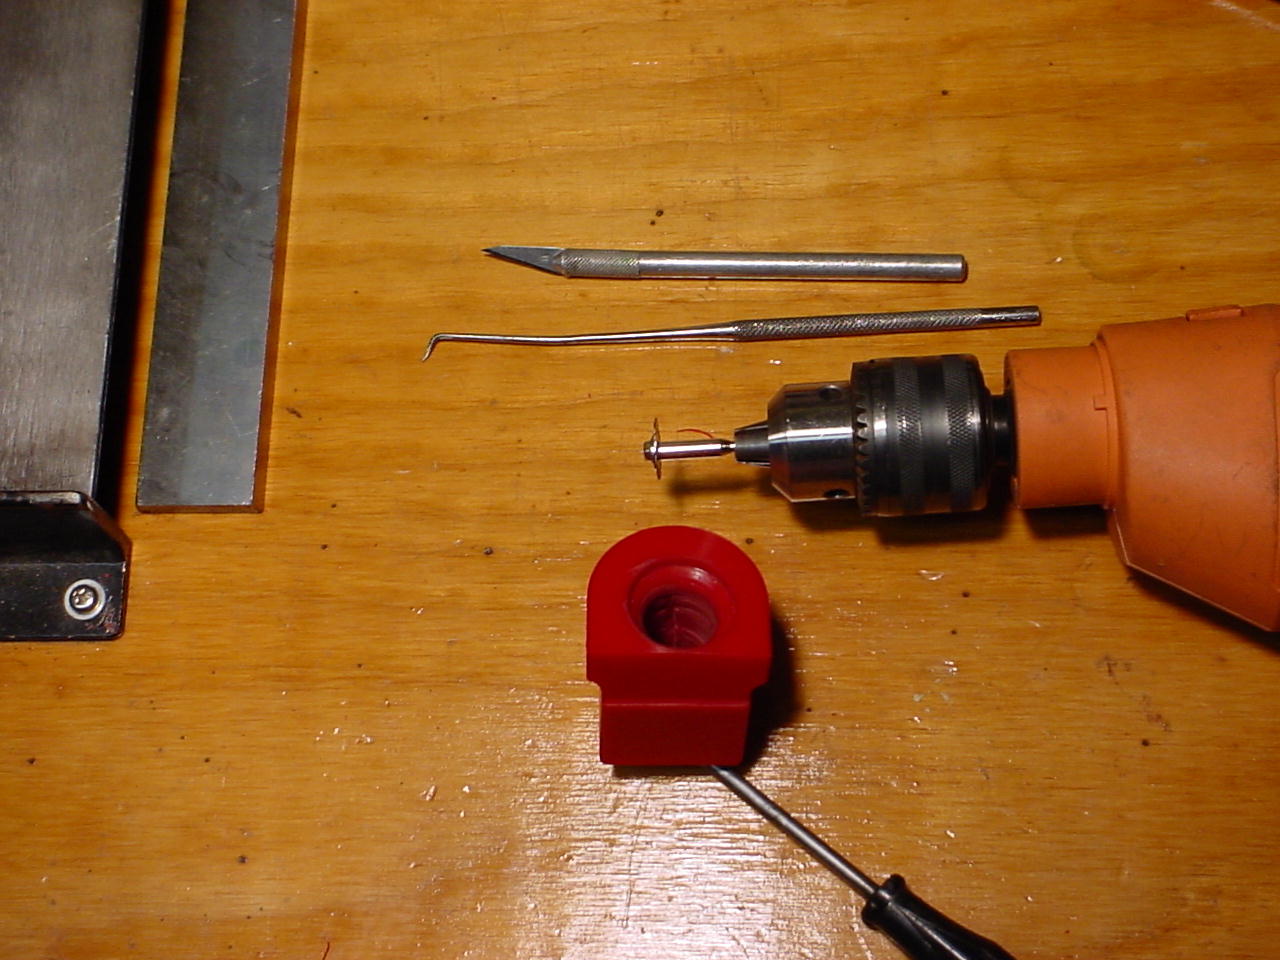
Step 5:
Using a fine point hobby knife, cut two channels in the inner diameter of the bushing: one channel on the top and one on the bottom. Thereafter, cut circular groves in the bushing using the ½ cutting wheel. Use the dental pick to help clean the channels and groves. The purpose is to allow grease to reach the inner diameter of the bushing where the rotation occurs during suspension travel. This will prevent suspension binding and the associated squeaking.
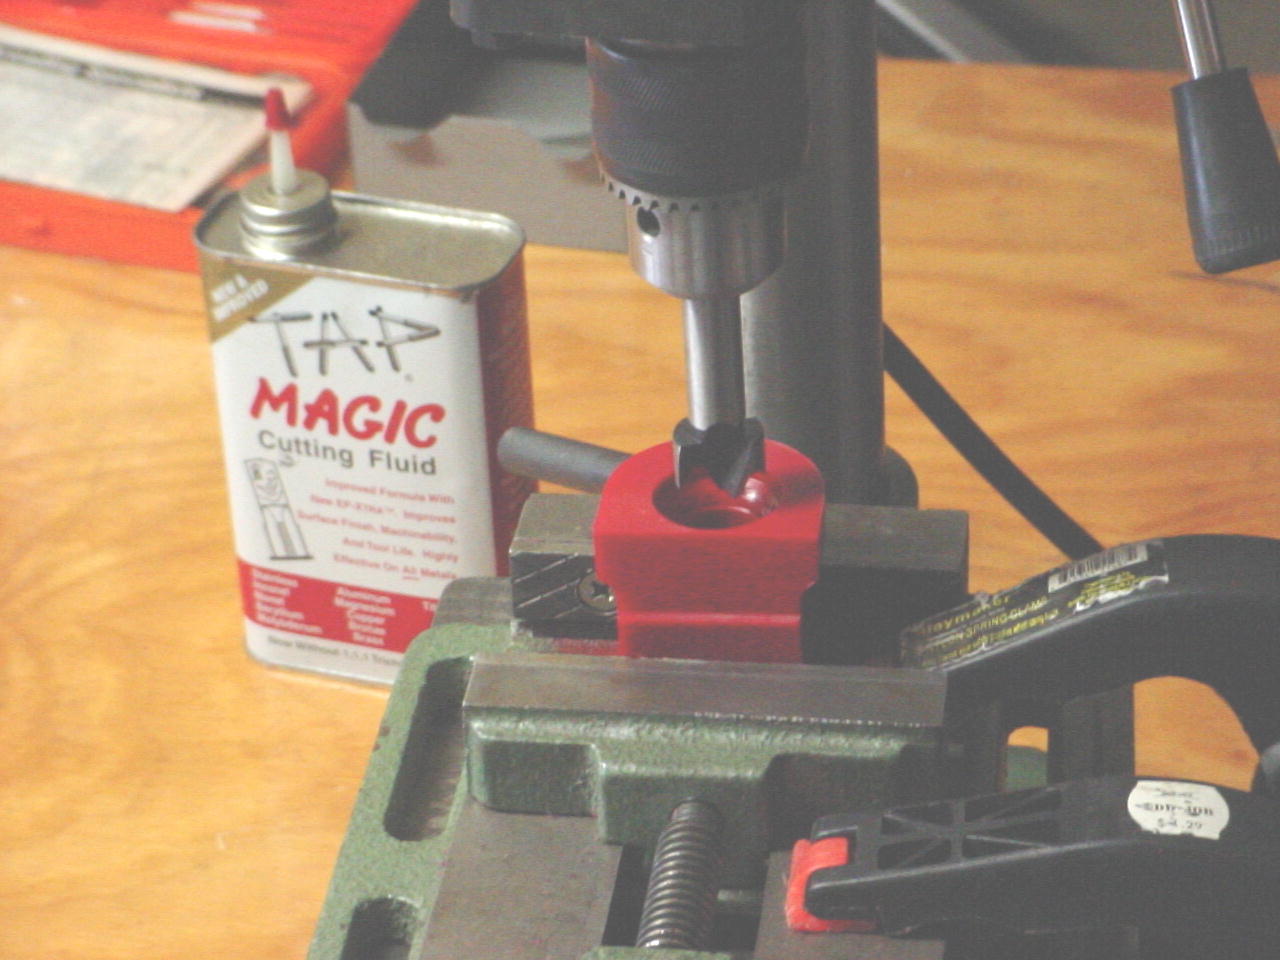
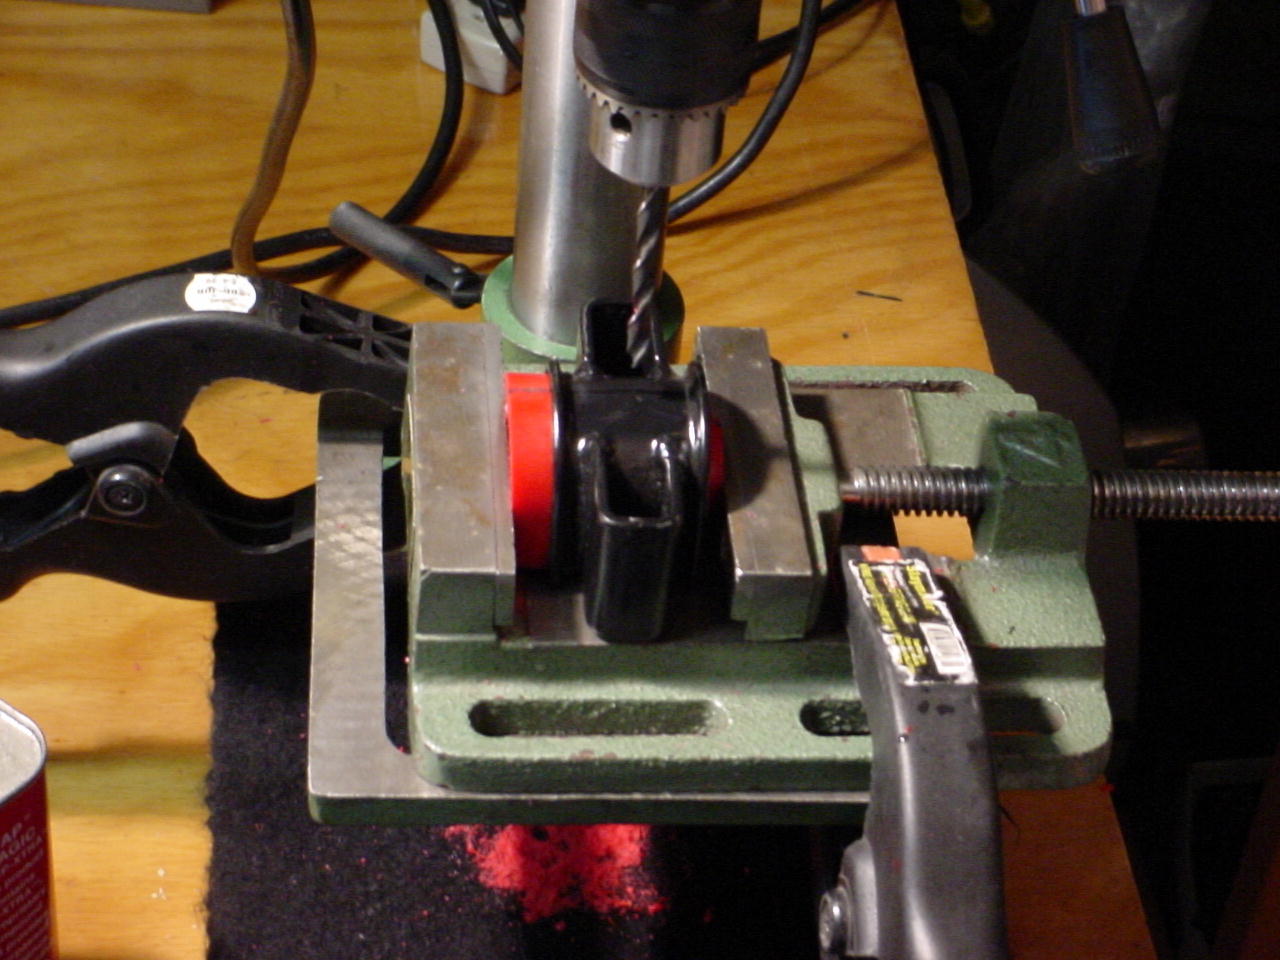
Step 6:
After the grease channels and groves have been cut, draw a line on the outside of the bushing and the mount, which will indicate where the grease channel runs. (The black marker line is visible on the bushing if you look closely). You want to drill into this channel, which will allow the grease to spread properly. Use a 15/64 HSS drill bit.
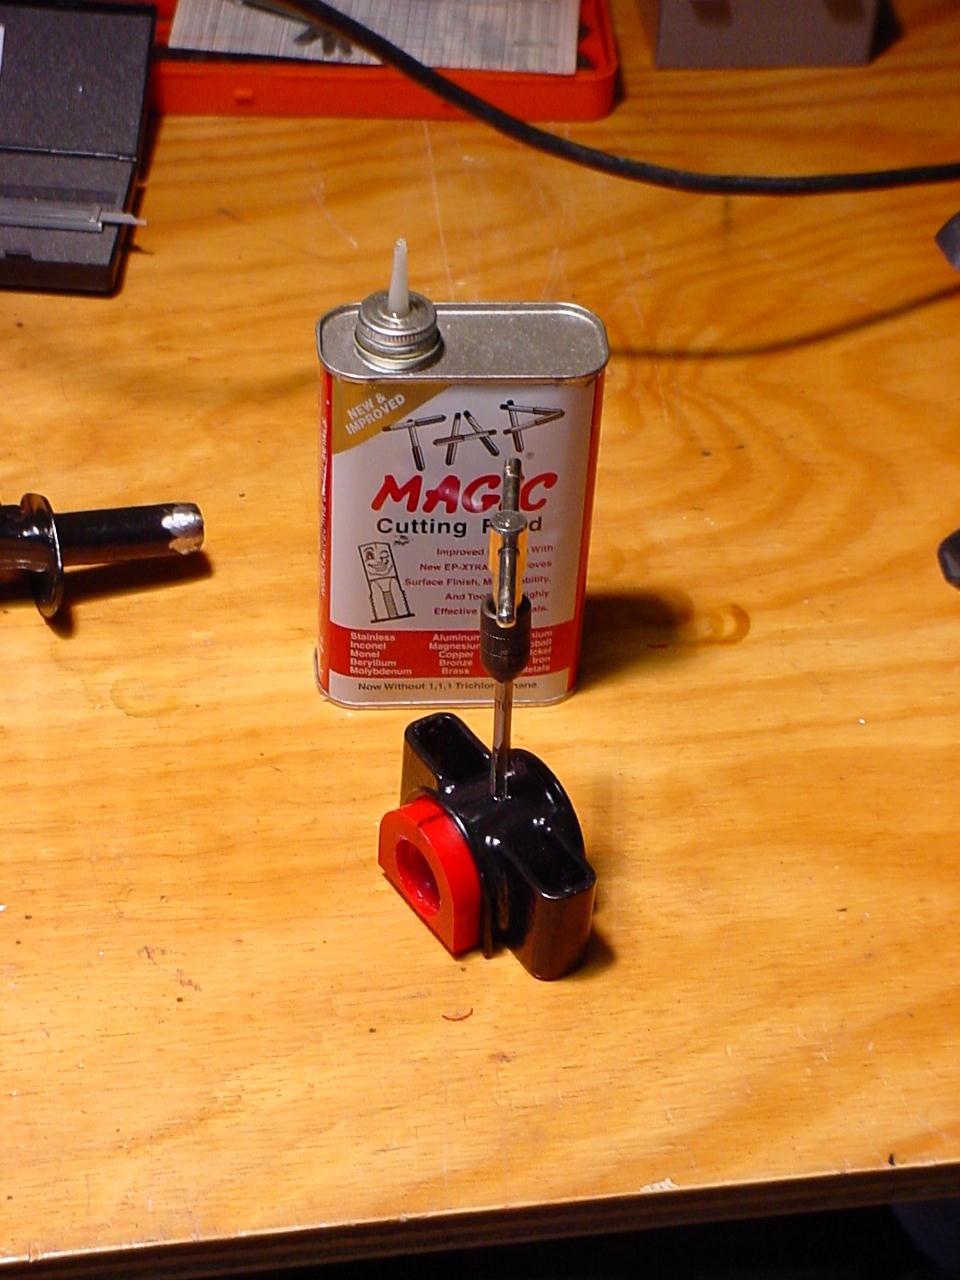
Step 7:
Tap the hole (both the metal mount and the bushing itself as the fitting extends slightly into the bushing) using tapping fluid and a ¼-28 tap. Clean the threads with alcohol and use a little Loctite on the grease fitting and screw it into the mount.
Step 8:
Grease the control arm post. Place the bushing with mount over the control arm mounting post, and using a hammer for a little persuasion, knock the bushing into place. Now it is installed.

Step 9:
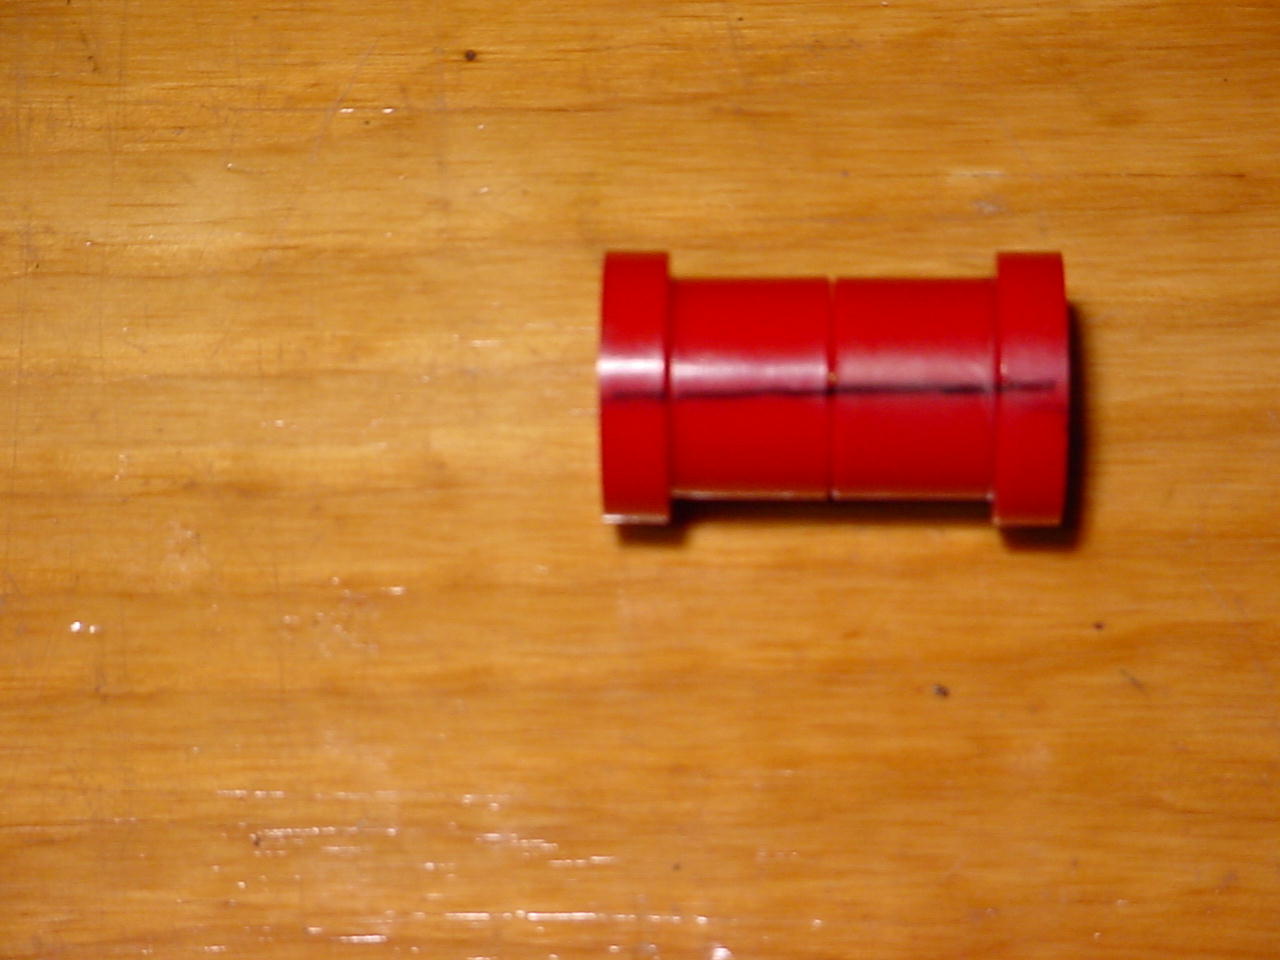
Now for the FRONT control arm bushings.
Using the same fine point hobby knife and ½ cutting wheel, cut two channels and circular groves in the inner diameter of the bushing. Use the dental pick to help clean the channels and groves.
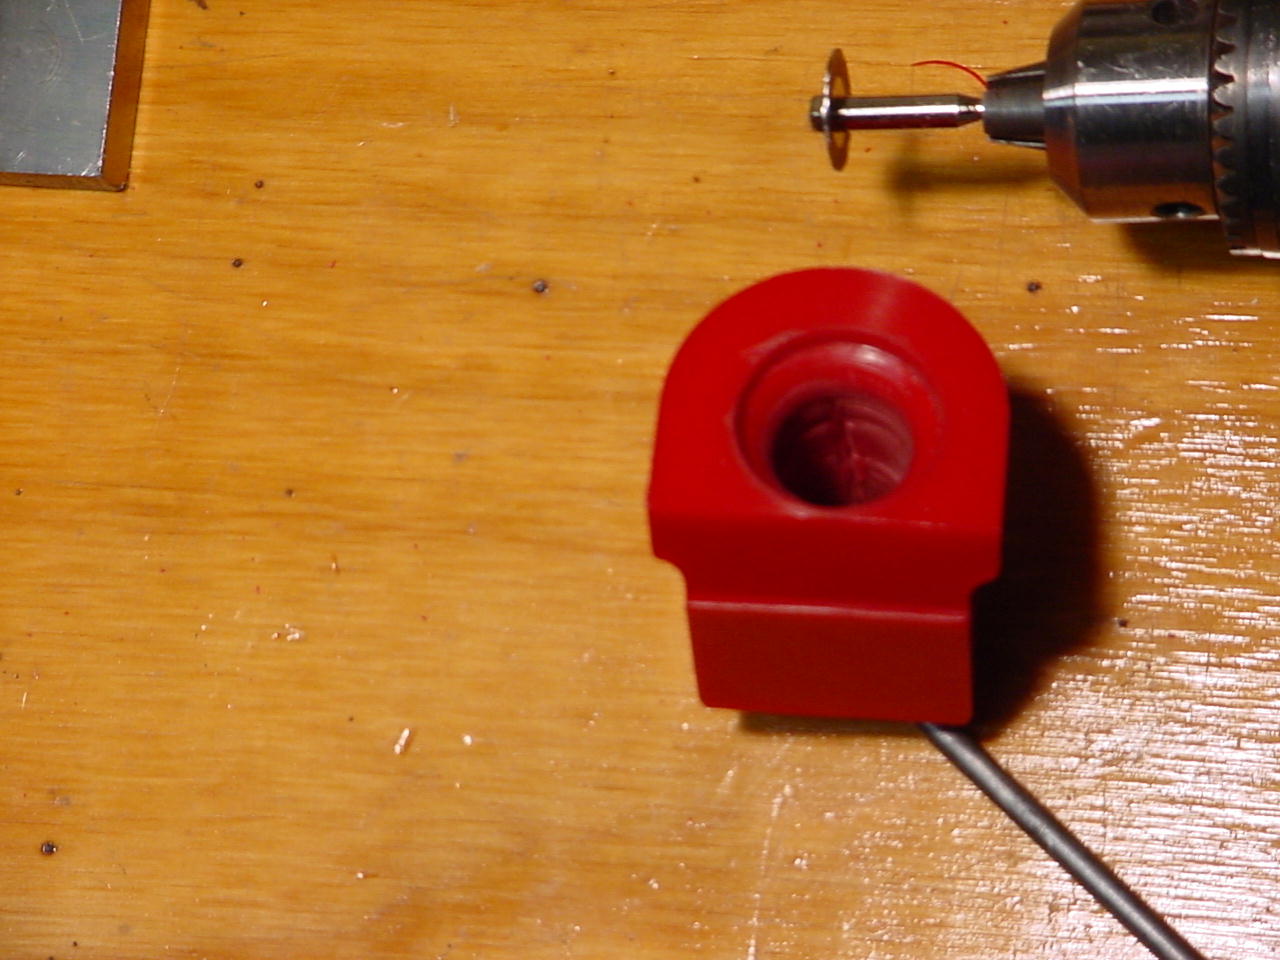
Step 10:
Draw a line down the center of the outside of the bushings to indicate where the channel runs. Because the bushings come in two parts, drill your 15/64 hole in the center of the bushing where the bushings come together. Then using the same 15/64 HSS bit, drill a hole in the front control arm bushing mounting tube. Placement of the hole is half way in the center of the tube (remember, the bushings come in two equal length pieces) and about 3mm from the weld, which allows suspension rotation without the grease fitting coming into contact with any parts. Tap the hole (both the metal mount and the bushing itself as the fitting extends slightly into the bushing) using tapping fluid and a ¼-28 tap.
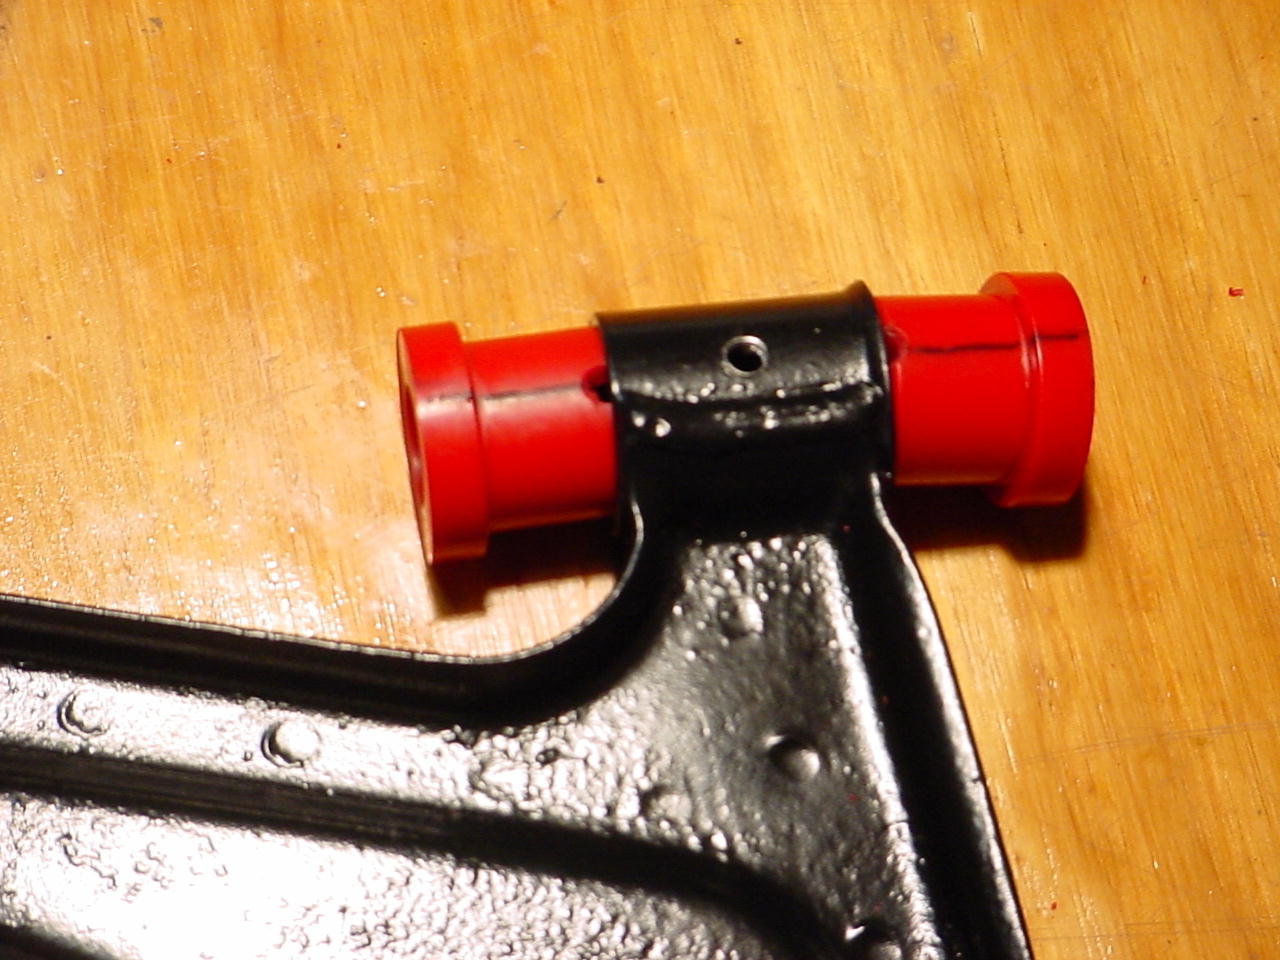
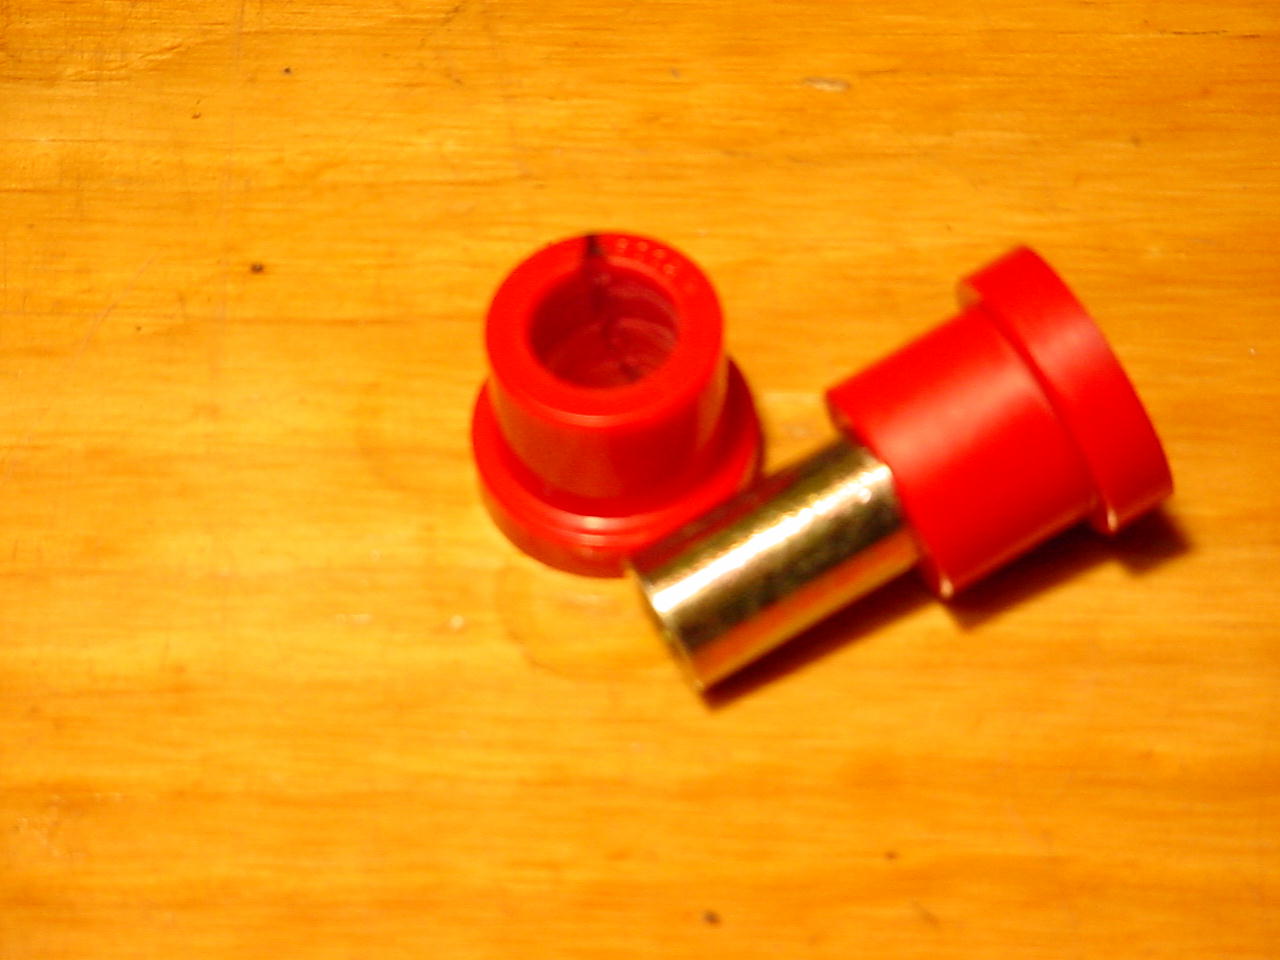
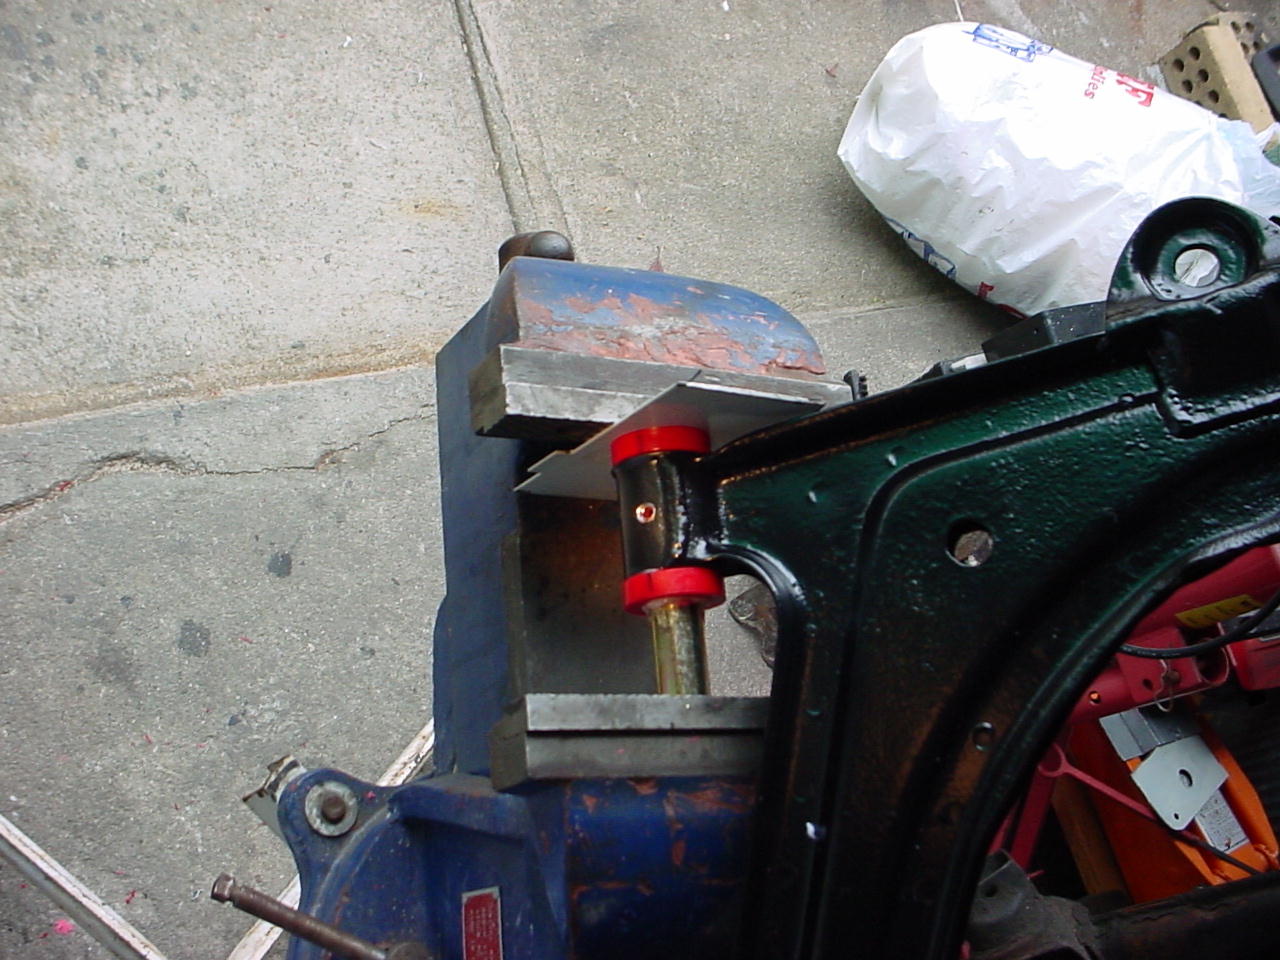
Step 11:
Spread grease over the outer diameter of the bushings and push them into the control arm mounting tube by hand pressure alone. Make sure that the line from step 10 and the hole on the mount line-up. (See 2nd picture below). Next grease the metal sleeve that will run through the inner diameter of the bushings. It can be pushed in somewhat by hand, but requires the use of a vise to fully insert. Looking into the grease fitting hole, you should clearly see the metal sleeve without any obstructions.
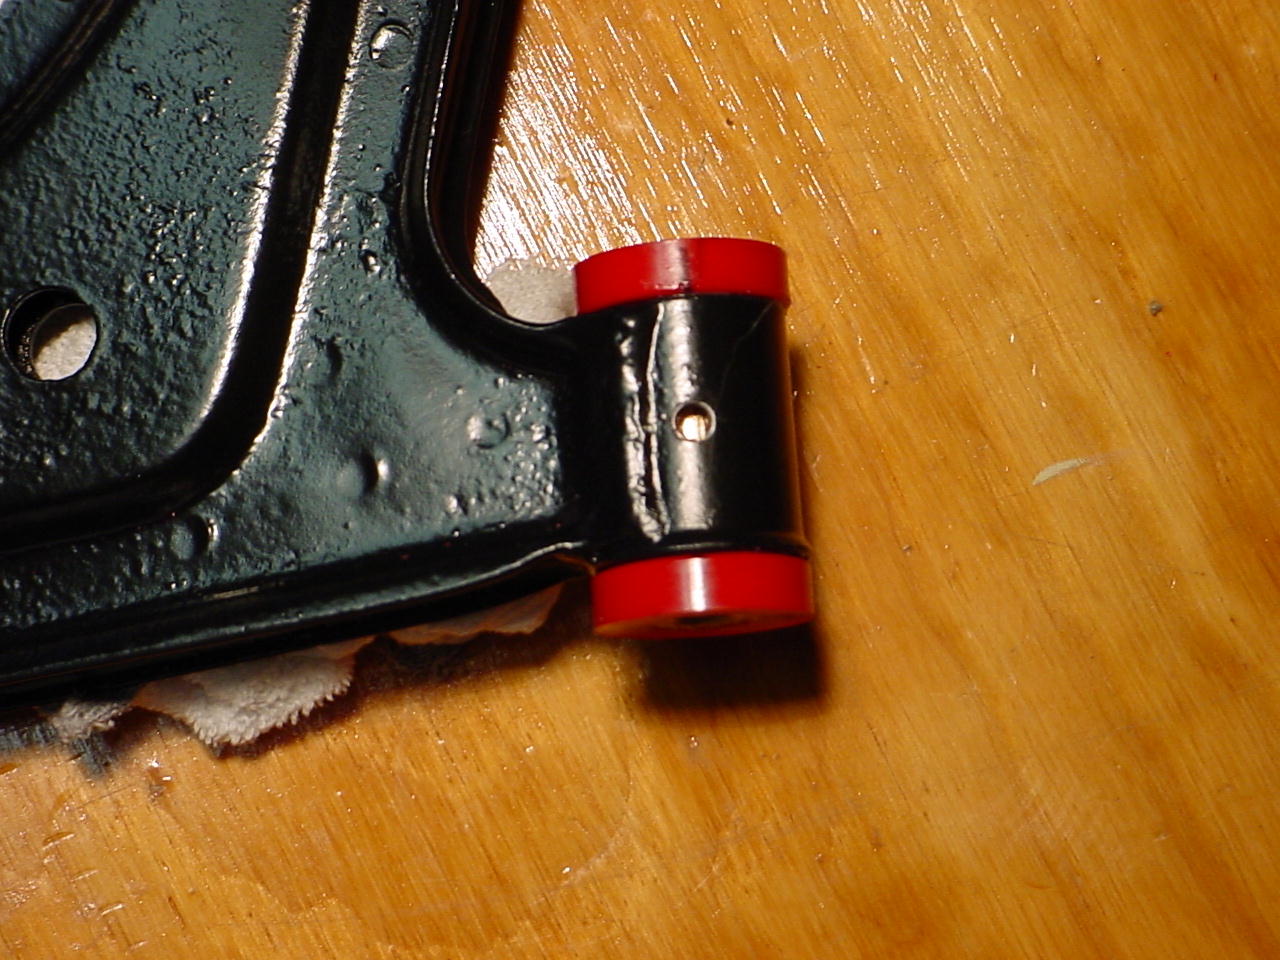
Step 12:
Clean the threads with alcohol and use a little Loctite on the grease fitting and screw it into the mount.
Step 13:
You are now finished! Use a grease gun to grease fittings before installation of control arms onto car.
Last edited by Peter on Thu Dec 21, 2006 1:14 pm; edited 2 times in total |
|
| Back to top |
|
 |
Peter_in_AU

Joined: 29 Jul 2001
Posts: 2743
Location: Sydney, Australia
|
| Posted: Fri Nov 17, 2006 1:19 pm Post subject: |
|
|
That is great! Thanks.
_________________
1979 924 (Gone to a better place)
1974 Lotus 7 S4 "Big Valve" Twin-cam (waiting)
1982 924 (As featured on Wikipedia)
Learn to love your multimeter and may the search be with you |
|
| Back to top |
|
|
macBdog

Joined: 16 Aug 2004
Posts: 1111
Location: Brisbane, Australia
|
| Posted: Fri Nov 17, 2006 1:55 pm Post subject: |
|
|
Awesome work, I will be doing this soon. Any info on sourcing the replacement bushings?
_________________
1979 931 with a 350 chev
1973 911E with EFI
| p-talk wrote: | I'm still convinced the word 'Porsche' makes people crazy in all kinds of ways  |
|
|
| Back to top |
|
|
Peter
Joined: 04 Nov 2002
Posts: 379
Location: New York, NY
|
| Posted: Sun Nov 19, 2006 3:59 am Post subject: |
|
|
Thanks guys.
MacBdog, I updated the parts section. You should be able to locally source Rabbit/Golf bushings. |
|
| Back to top |
|
|
leadfoot

Joined: 11 Dec 2002
Posts: 2222
Location: gOLD cOAST Australia
|
| Posted: Sun Nov 19, 2006 7:01 pm Post subject: |
|
|
bugpack for control arms, swaybar parts have to be sourced elsewhere like;
energy suspension, these guys have mounts with grease nipples already installed,
nolathane
noltec
whiteline
racers edge (I think that's where 924racr got his) but there expensive
Leadfoot
_________________
1981 ROW 924 Turbo -
carbon fiber GT mish mash
LS1 conversion in progress... |
|
| Back to top |
|
|
leadfoot
Joined: 11 Dec 2002
Posts: 2222
Location: gOLD cOAST Australia
|
| Posted: Wed Nov 22, 2006 4:14 pm Post subject: |
|
|
Ok Aus resource here...
RED RANGER/NOLATHANE
Kit number 48036
contains 2 (2 piece) cotton reel style bushings
id 22.3mm
3mm shoulder
No crush tube...
the lenth is longer and so they need to be trimmed in the middle. Use the extra with a hose clamp on the inner side to stop seperation...
cost is $45 for kit and available through ; autobarn , bursons and a few others...
_________________
1981 ROW 924 Turbo -
carbon fiber GT mish mash
LS1 conversion in progress... |
|
| Back to top |
|
|
Rasta Monsta

Joined: 12 Jul 2006
Posts: 11724
Location: PacNW
|
| Posted: Tue Dec 19, 2006 3:25 am Post subject: |
|
|
Hmm, I bought Weltmeister poly bushings from Performance Products, and there was no steel insert included for the fronts. Does this mean I need to scavenge the old ones and use them?
TIA
rasta
_________________
Toofah King Bad
- WeiBe (1987 924S 2.5t) - 931 S3
|
|
| Back to top |
|
|
Peter
Joined: 04 Nov 2002
Posts: 379
Location: New York, NY
|
| Posted: Thu Dec 21, 2006 1:24 pm Post subject: |
|
|
| Rasta Monsta wrote: | Hmm, I bought Weltmeister poly bushings from Performance Products, and there was no steel insert included for the fronts. Does this mean I need to scavenge the old ones and use them?
TIA
rasta |
I updated my parts list. Here is a link to the exact bushings I used:
http://wrdusa.com/Merchant2/merchant.mvc?Screen=PROD&Store_Code=WRD&Product_Code=22-201
I would stay away form the Weltmeister bushings for the front control arm mounts because they do NOT use a steel insert. The insert is preferable for three main reasons.
First, the insert prevents the bushing from being pinched and compressed during control arm attachment to the cross member.
Second, the insert provides a smooth and evenly machined surface for the bushing to rotate around. The outer diameter of the steel insert and the inner diameter of the bushings are machined to fit precisely, allowing rotation of the bushing without compression or lateral (front to back) movement. Absent the insert, the bushing rotates around the bolt. The bolts were not designed to be used as a liner. They are not a machined to fit perfectly into the bushing. This will result in additional movement at the joint, defeating the performance purpose of replacing the rubber bushings with poly.
Third, the suspension was designed by factory engineers to use a steel insert as an axis point for rotation rather than the mounting bolt. I trust that Porsche, Audi, VW know more than Weltmeister.
Several posters on Rennlist & Pelican who have removed their Weltmeister bushings reported that the round inner diameter of the bushing had become oval. This results in more suspension play, once again defeating the performance aspect of going with poly over rubber. However, if you use Weltmeister bushings, it will be hard to notice a decline in suspension performance because the bushings become elongated gradually over time. This explains the few complaints about Welts, other than from those who have actually removed and inspected them. And as you probably are experiencing yourself, removing suspension components is not very easy and is not regularly done like an oil change.
Lastly, Welts are fine for the rear of the control arms as the rears have a large post which was designed for the bushing to rotate over. This goes for the torsion tube & spring plate mounts. (Look for a How To on mounting rear spring plate & torsion tube bushings with grease fittings to come out over the winter. ) |
|
| Back to top |
|
|
ideola

Joined: 01 Oct 2004
Posts: 15548
Location: Spring Lake MI
|
| Posted: Sat May 09, 2009 3:14 am Post subject: |
|
|
| Peter wrote: | | I would stay away form the Weltmeister bushings for the front control arm mounts because they do NOT use a steel insert. |
FWIW, the Weltmeister / Racer's Edge package I recently acquired uses the Weltie control arm and trailing arm bushings, and they both have the metal sleeves.
Now, to be clear, my setup is for late offset alu-based suspension, as I'm converting over to the 944/951 stuff, so I don't know if it's because they're different parts from the steel-based parts, or if Weltmeister has redressed the lack of metal sleeves...
_________________
erstwhile owner of just about every 924 variant ever made
Last edited by ideola on Sat Jan 19, 2013 2:56 pm; edited 1 time in total |
|
| Back to top |
|
|
ideola
Joined: 01 Oct 2004
Posts: 15548
Location: Spring Lake MI
|
| Posted: Sat Jan 19, 2013 2:55 pm Post subject: |
|
|
The Powerflex bushings we now have available on our website also have ALL of the correct stainless steel sleeves and washers for the various 924 944 applications.
Front A-arm

Torsion Carrier Main Bushing

Trailing Arm Main Bushing

Once again, Peter, this is a *great* writeup.
_________________
erstwhile owner of just about every 924 variant ever made |
|
| Back to top |
|
|
Ruff911
Joined: 15 Mar 2014
Posts: 1
Location: New York
|
| Posted: Sat Mar 15, 2014 4:40 pm Post subject: control arm |
|
|
I recently acquired a 1981 924 turbo, it was outfited with the same control arm as yours with the bracket for the stabilizer bar. does anybody know where I can locate the left and right hand control arms? I have searched high and low all over the web so far only to find many that fit, but no stabilizer fitment.
_________________
1981 porsche 924 turbo |
|
| Back to top |
|
|
fiat22turbo

Joined: 18 Jan 2006
Posts: 4040
Location: Portland, OR
|
| Posted: Sun Mar 16, 2014 2:21 am Post subject: |
|
|
I've got a pair. PM me for details.
However, since they are MK1 control arms. You can get some and add sway bar mount via your favorite local welder.
_________________
Stefan
1979 924 Carrera GTS (clone-ish)
1988 944 Turbo S (Silver Rose) |
|
| Back to top |
|
|
Joes924Racer

Joined: 03 Nov 2002
Posts: 11964
Location: Oregon, Denver Colorado native!
|
| Posted: Tue Mar 18, 2014 8:16 am Post subject: |
|
|
Nice work.
_________________
1979 porsche 924 Na
1980 porsche Turbo 931GT Replica
Have u ever driven a turbo. |
|
| Back to top |
|
|
gwan2cruz
Joined: 26 Nov 2017
Posts: 18
Location: Lima, NY
|
| Posted: Tue May 29, 2018 1:20 am Post subject: control arm with sway bar mount |
|
|
Need a control arm for my 78 924 (MK1) but it needs the sway bar mount. I can get a control arm but where can I get the sway bar mount separately and have it welded on?
Thank you.
Gary
_________________
78 924 Special Edition |
|
| Back to top |
|
|
peterld
Joined: 10 Dec 2006
Posts: 947
Location: Noosa Heads QLD Australia
|
| Posted: Tue May 29, 2018 8:45 pm Post subject: |
|
|
The control arm as pictured in the above write-up was only used for a few years and does not seem to be available anywhere.
The commonly available arm without the sway bar 'ears' can be adapted by welding on the 'ears' from an old arm. The sway bar mount bracket ('ear') is not available separately.
Good used arms appear on eBay every so often, but generally require new ball joints, which are relatively inexpensive.
The other alternative is to go the later 924/944 route, but this will require the later sway bar, and chassis mounts to be acquired as well.
_________________
80/81 932/8 ROW |
|
| Back to top |
|
|
|

